
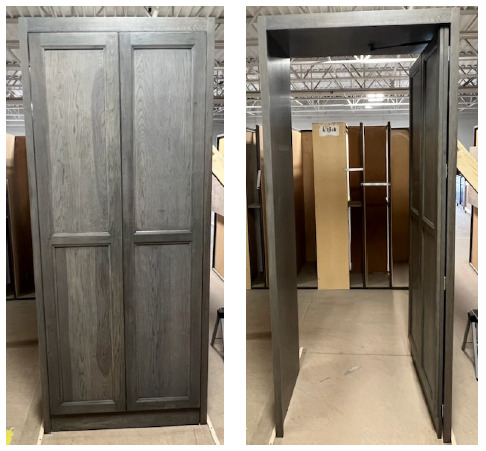
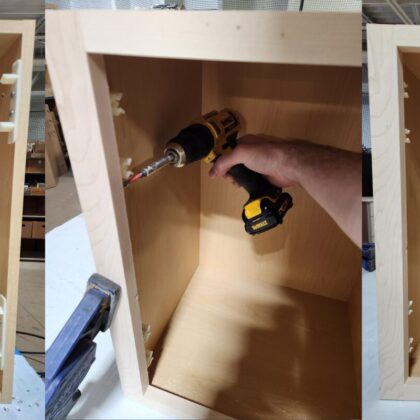
Here are the instructions to properly remove bracing from a new Showplace Walk-in Pantry cabinet with the push-in door.
It is important to follow the steps below in order, so the structural integrity of the cabinet remains intact prior to installation.
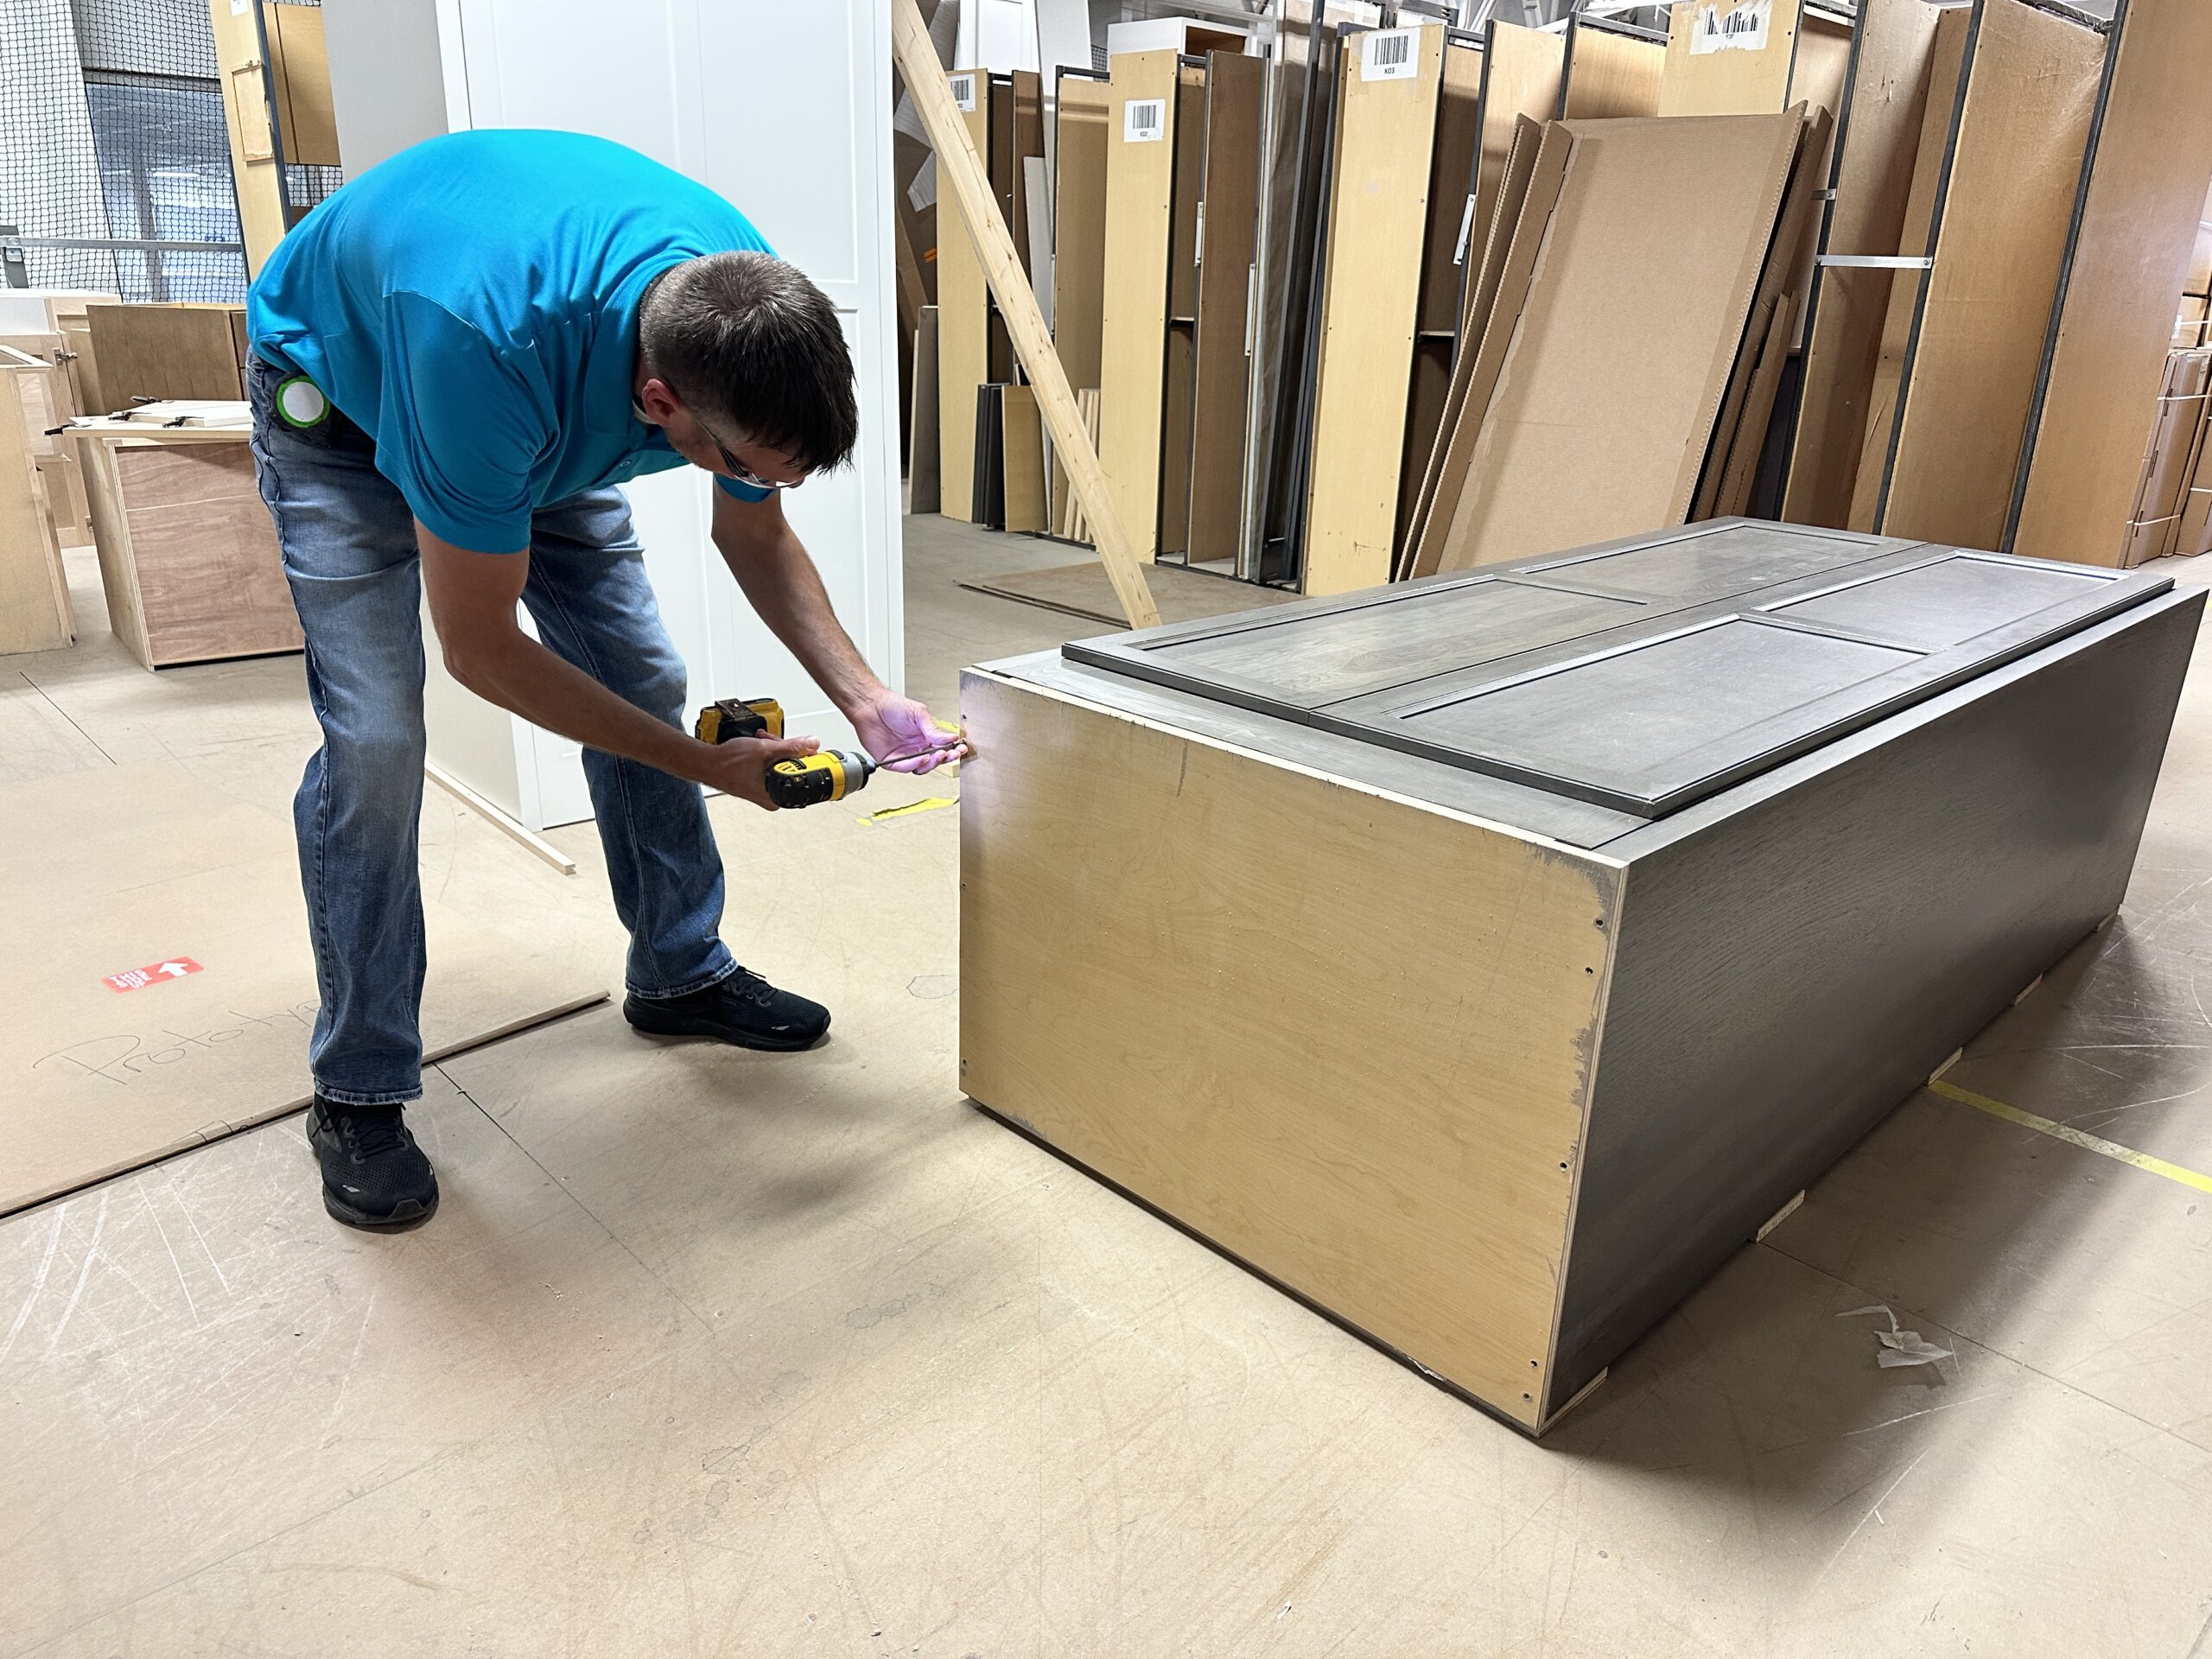
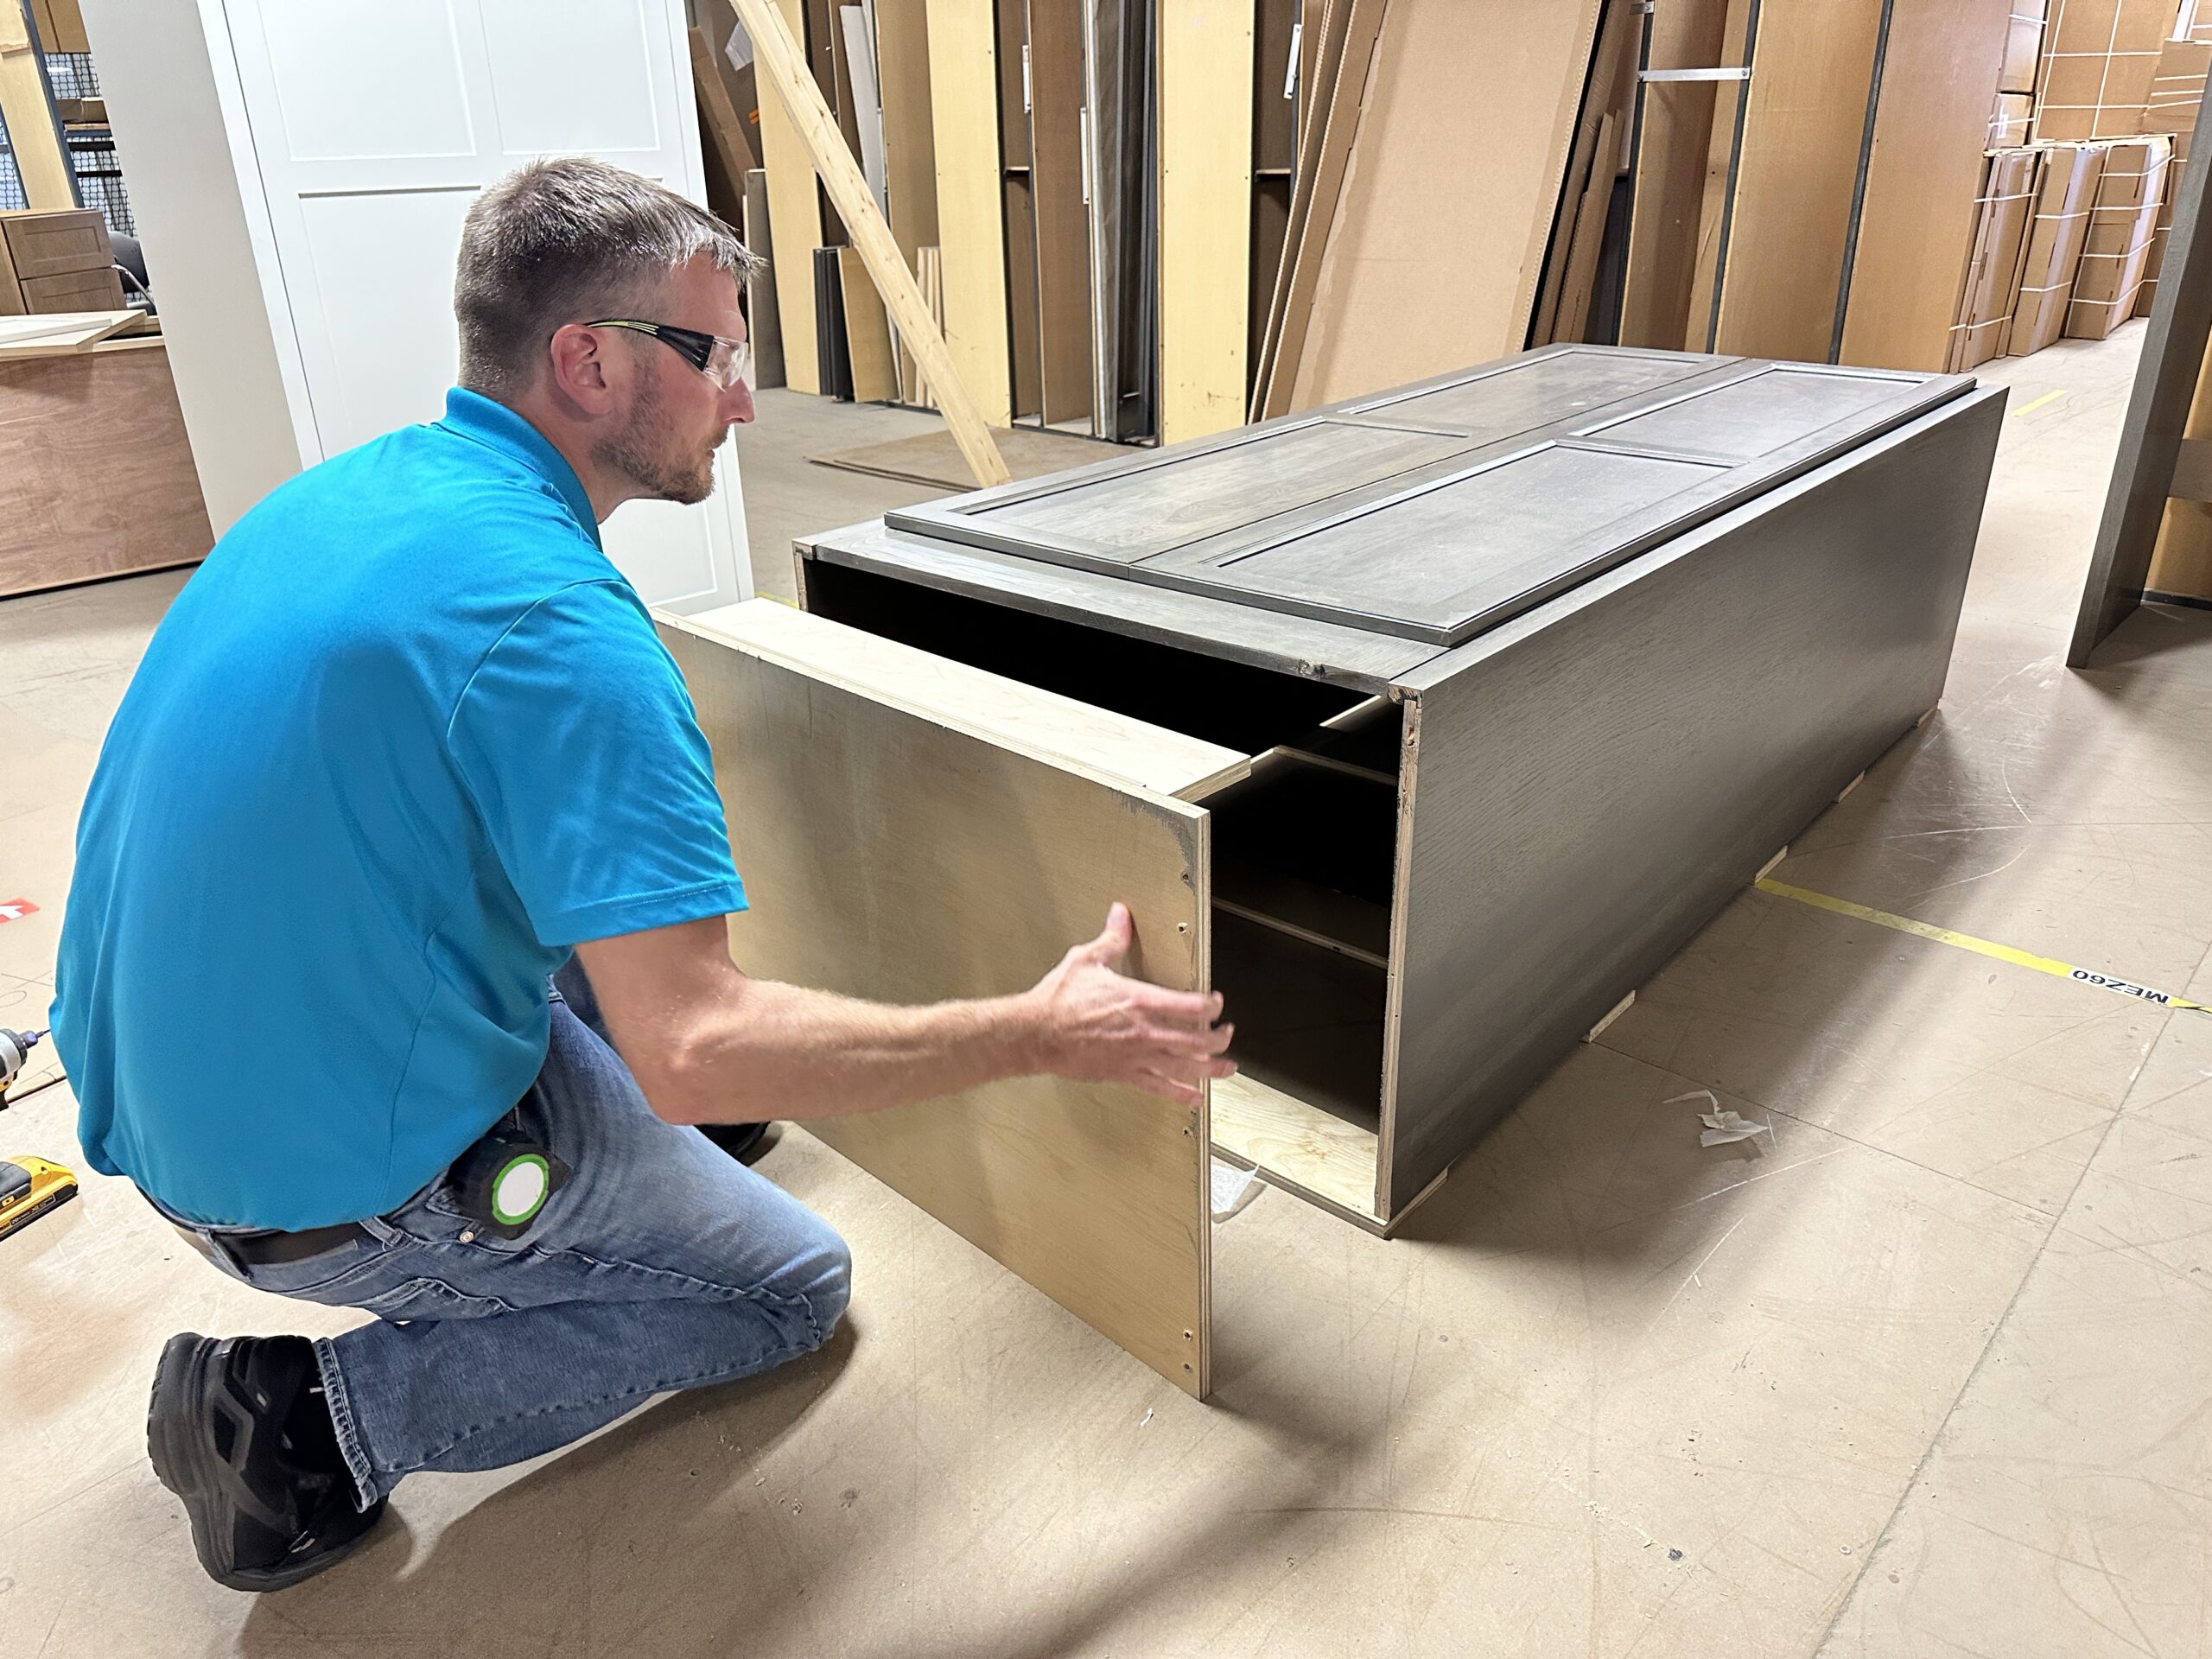
Remove Support Floor
1. Lay cabinet on its back.
2. Remove screws from bottom of false floor.
3. Remove and discard false floor.
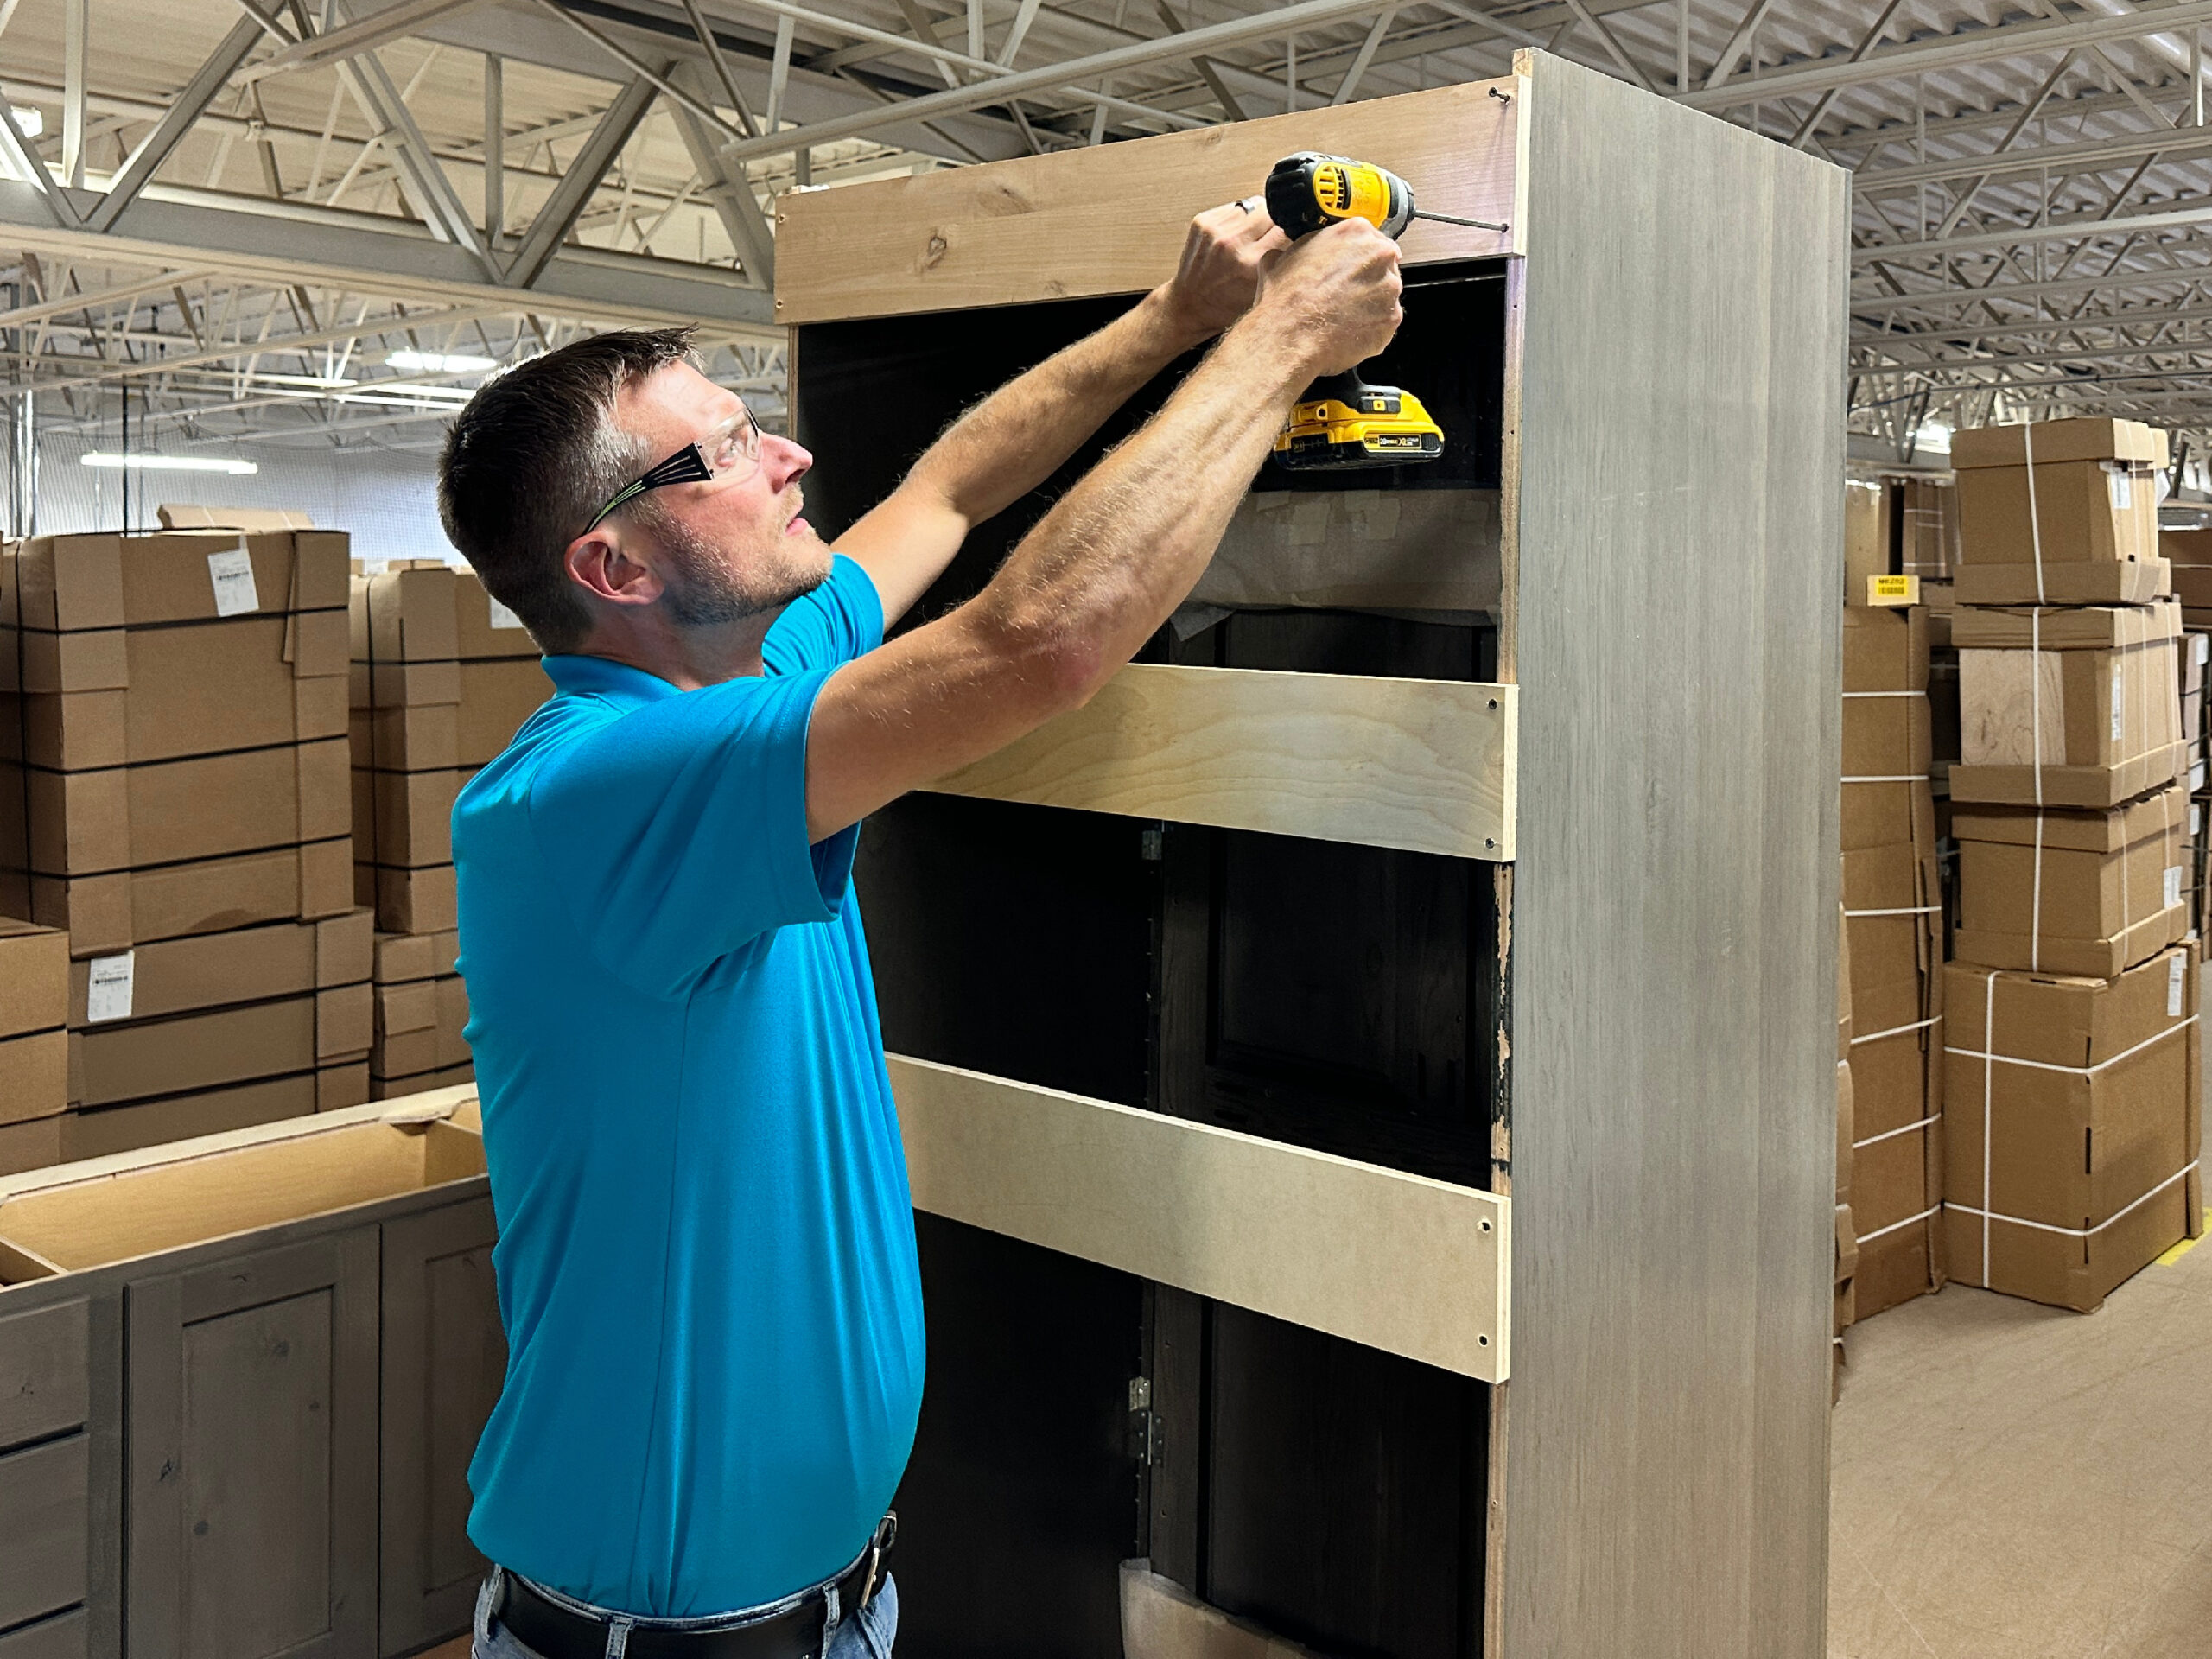
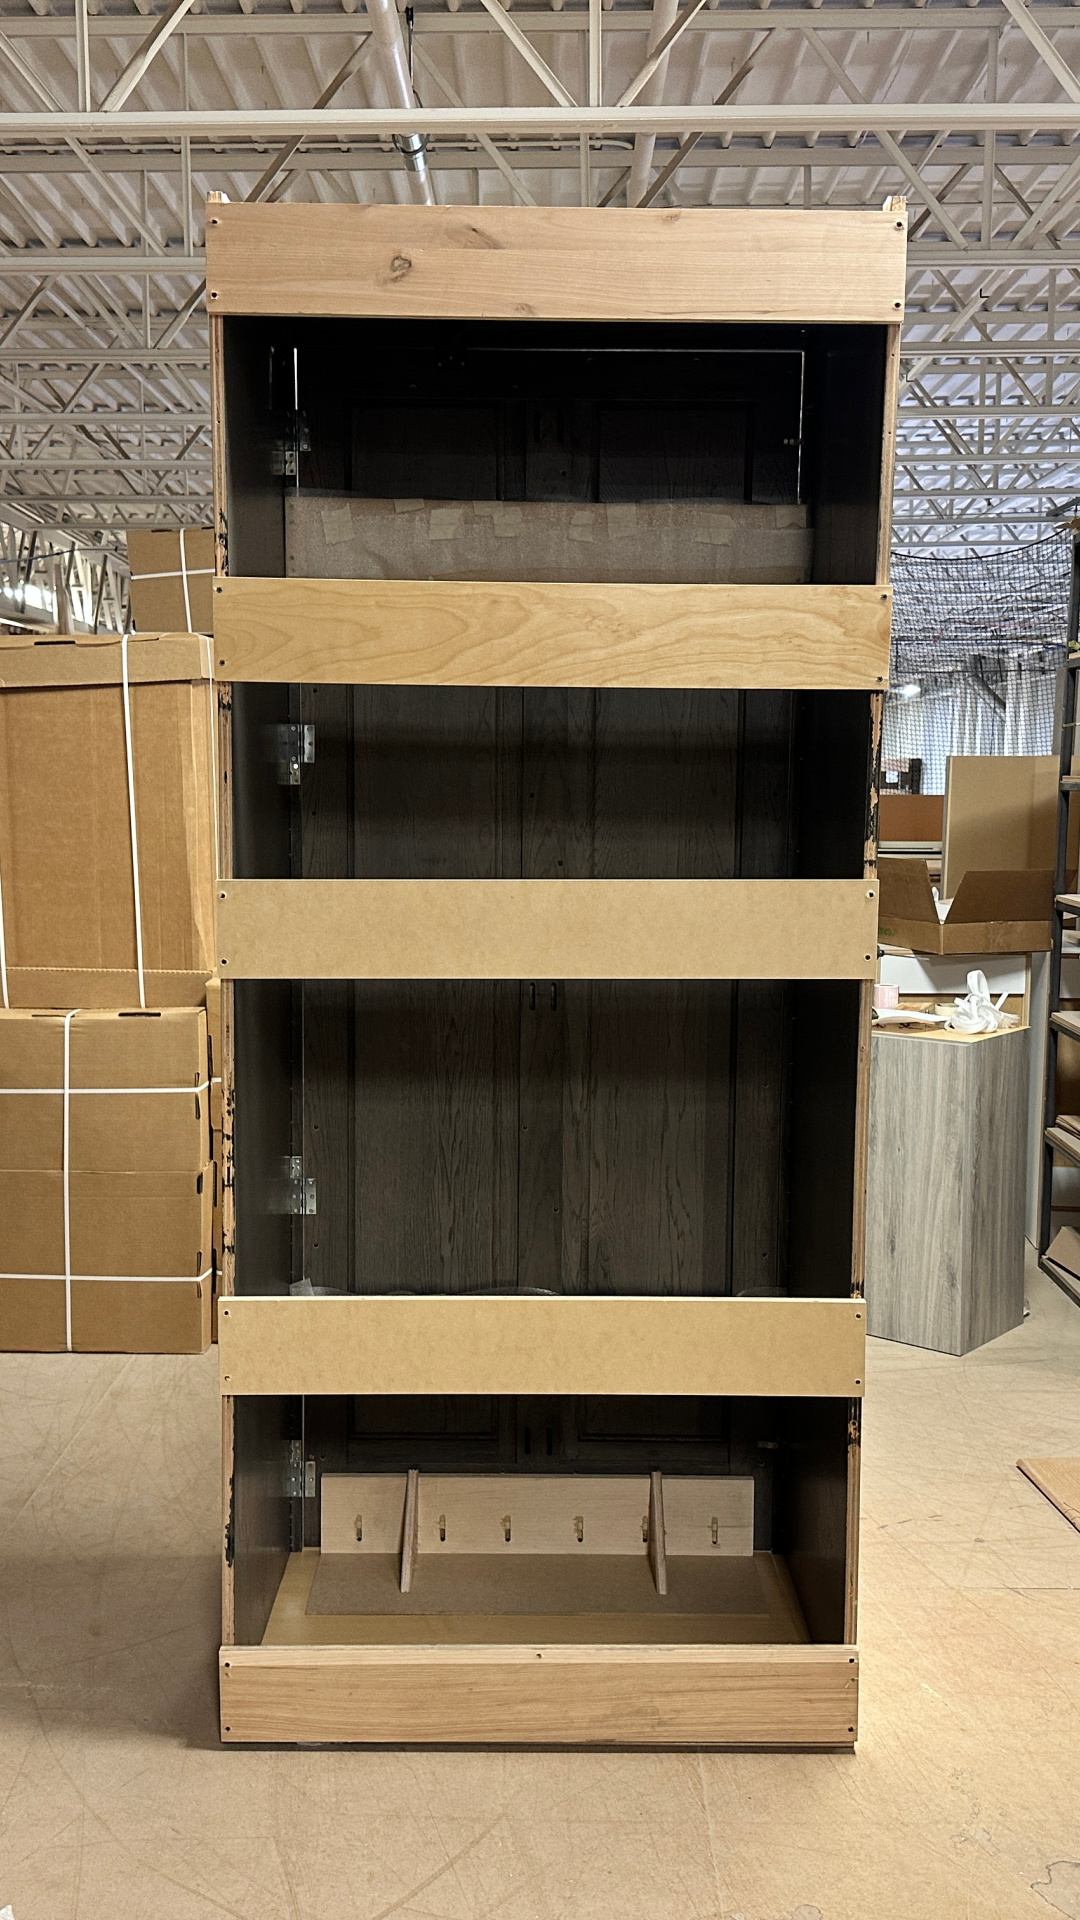
Remove Back Bracing
4. Set cabinet right side up.
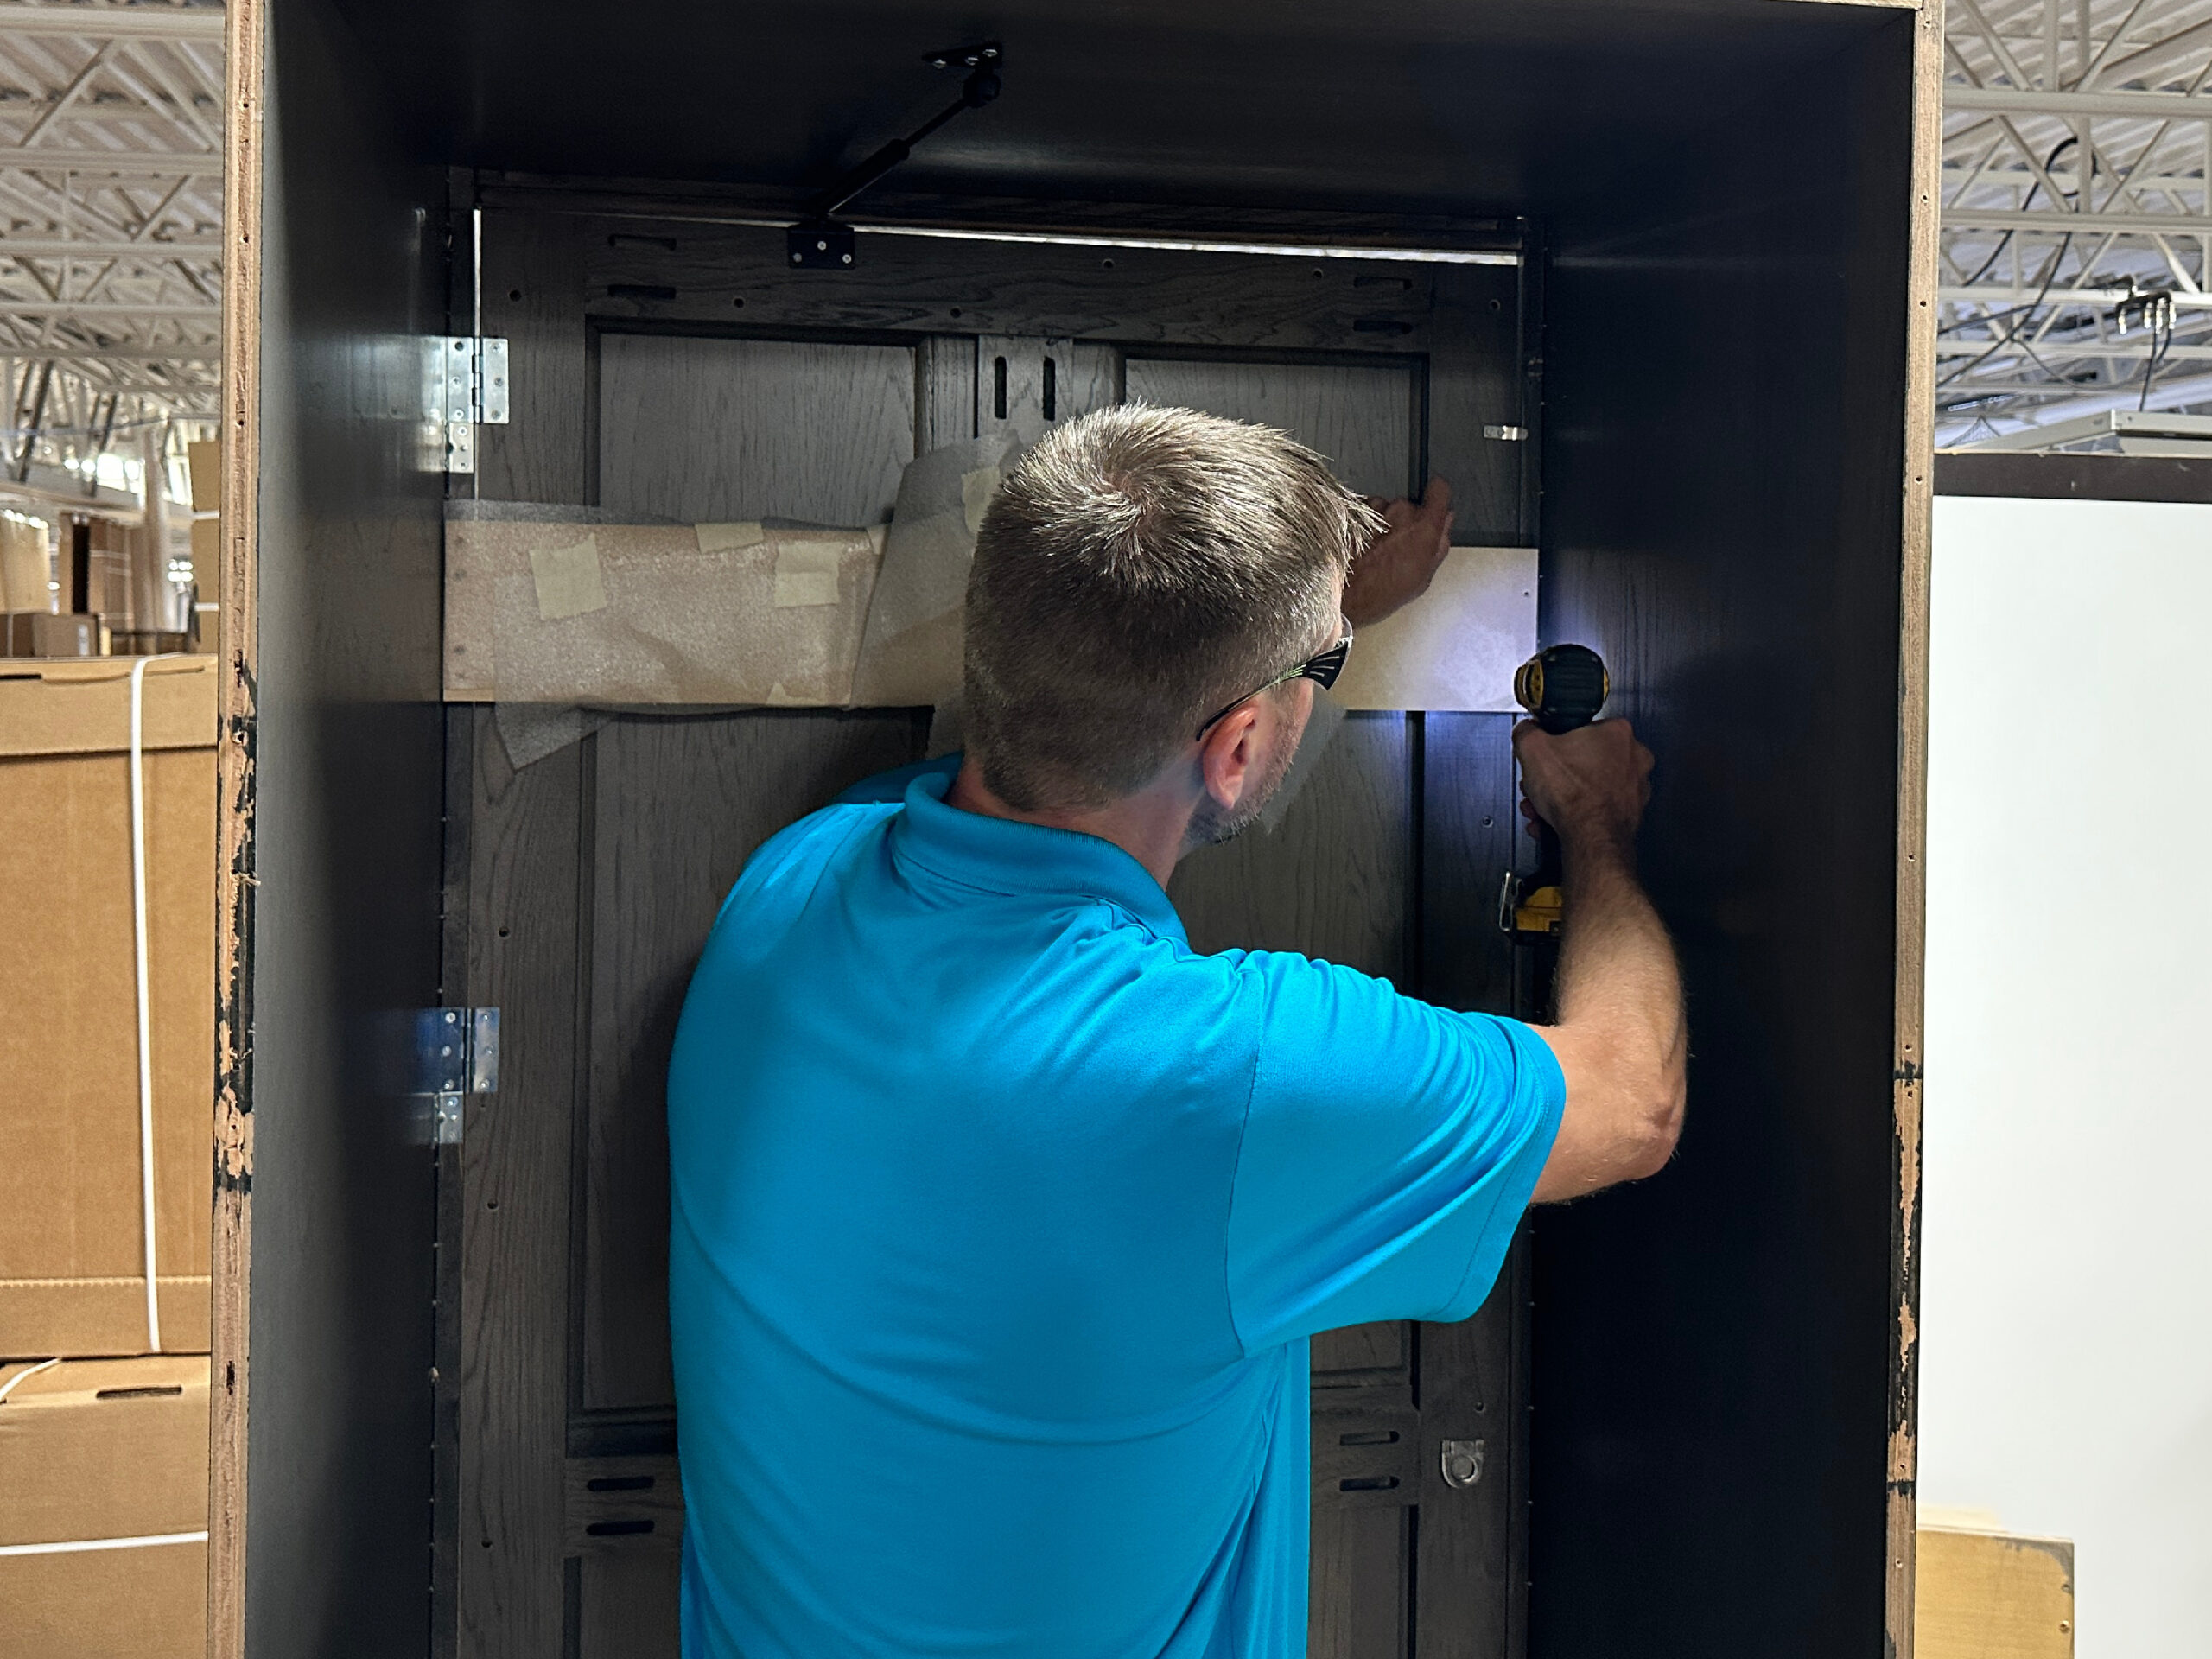
5. Remove all horizontal bracing,
in pantry opening, from back of
end panels – starting at the top.
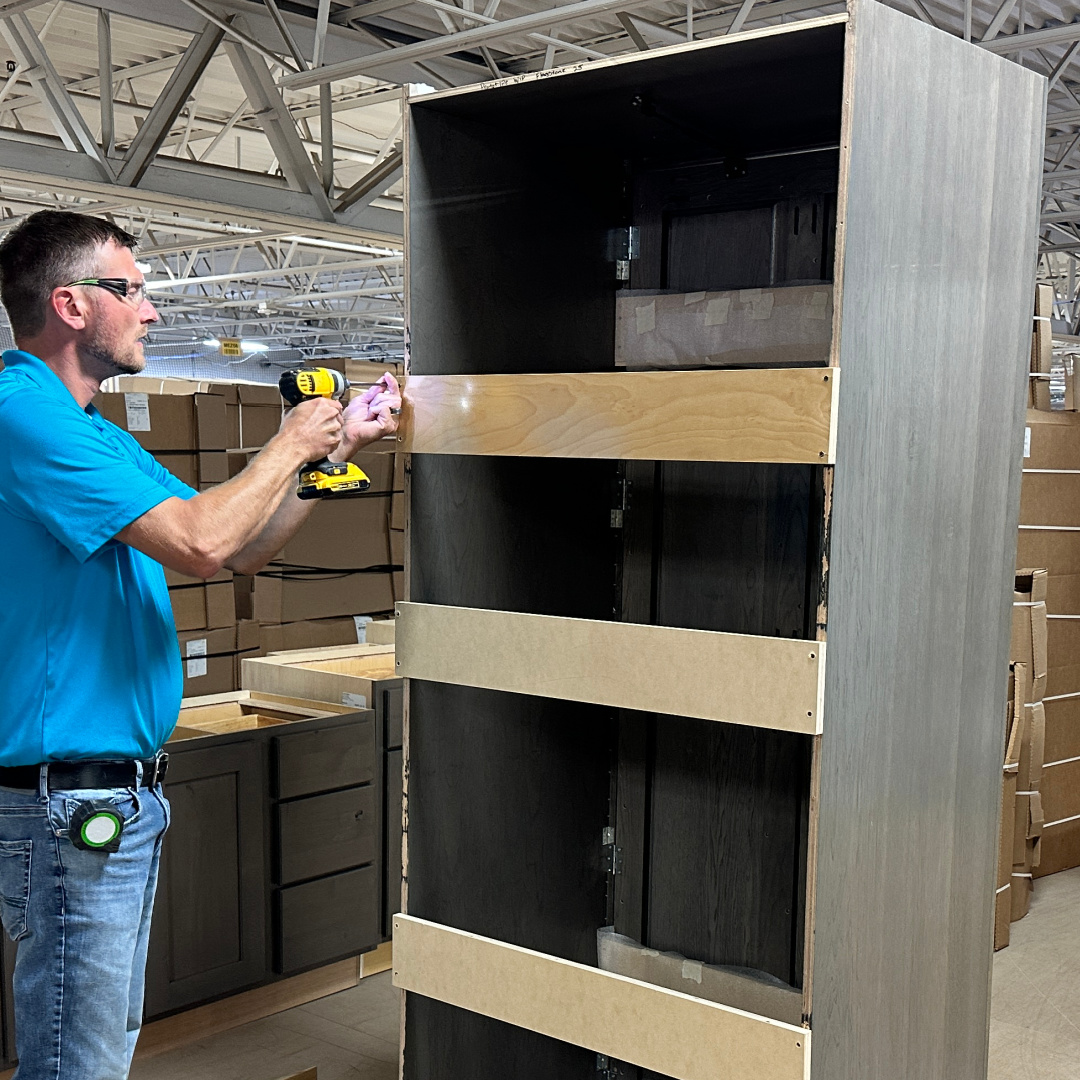
Remove Second Brace
Remove Third Brace
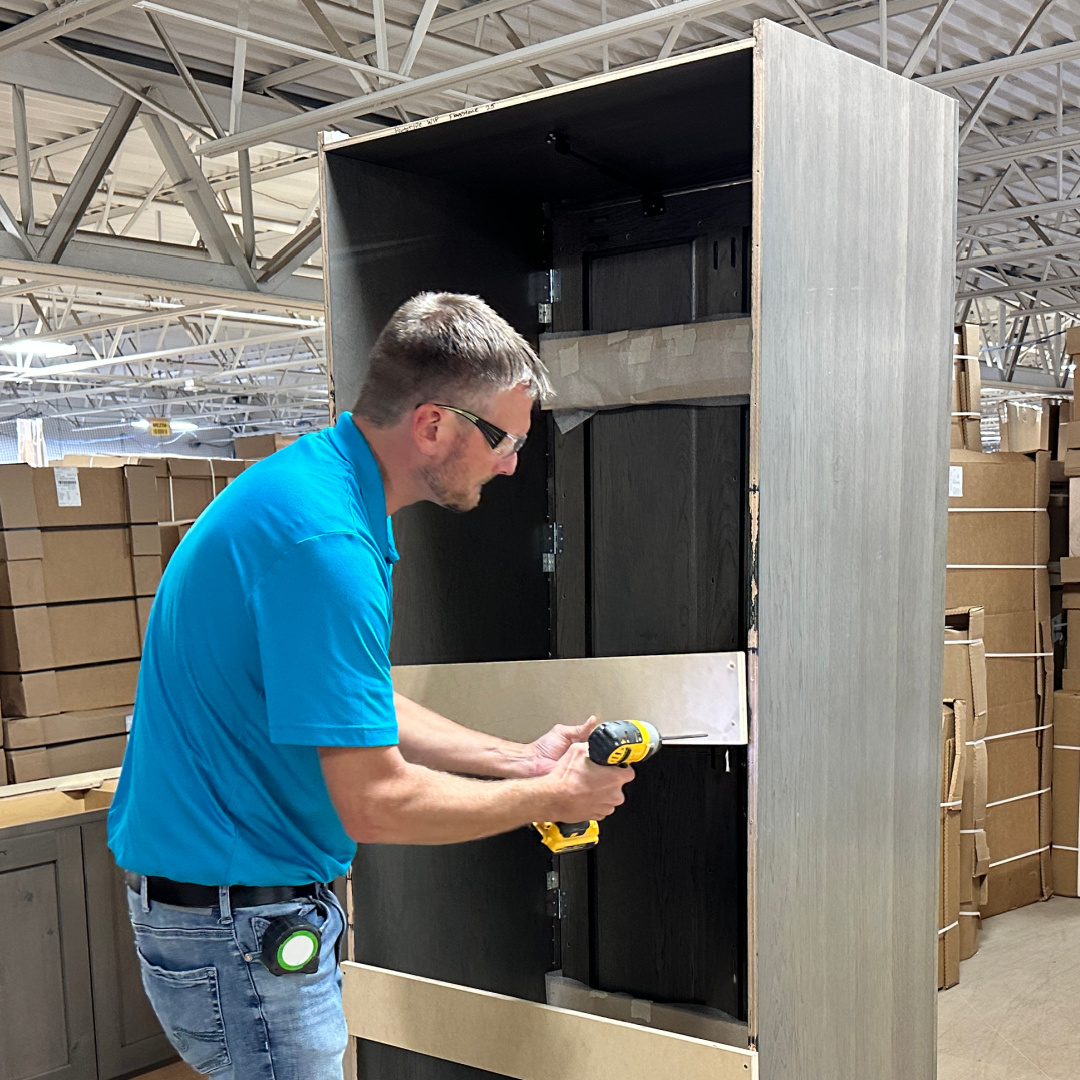
Remove Fourth Brace
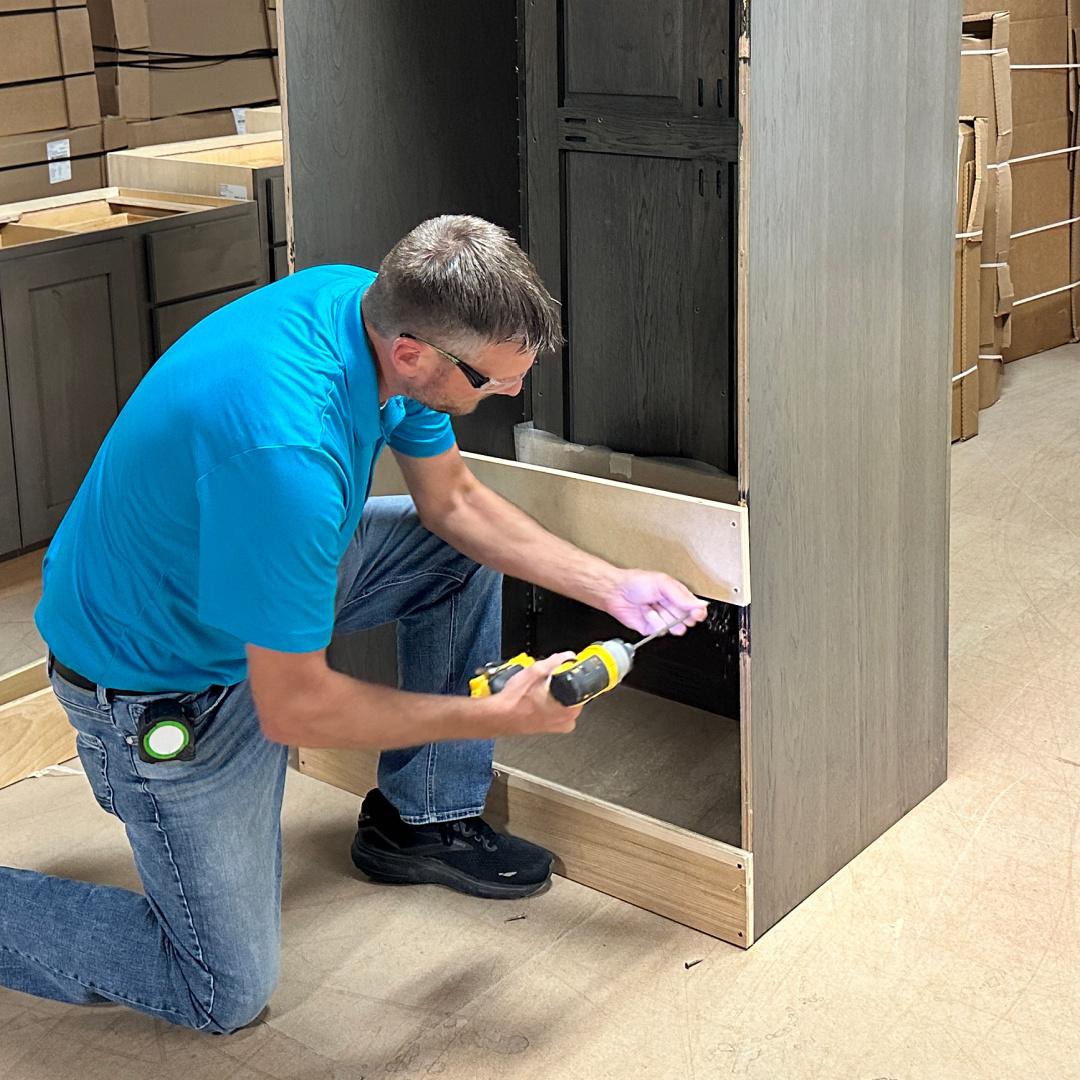
Remove Bottom Brace
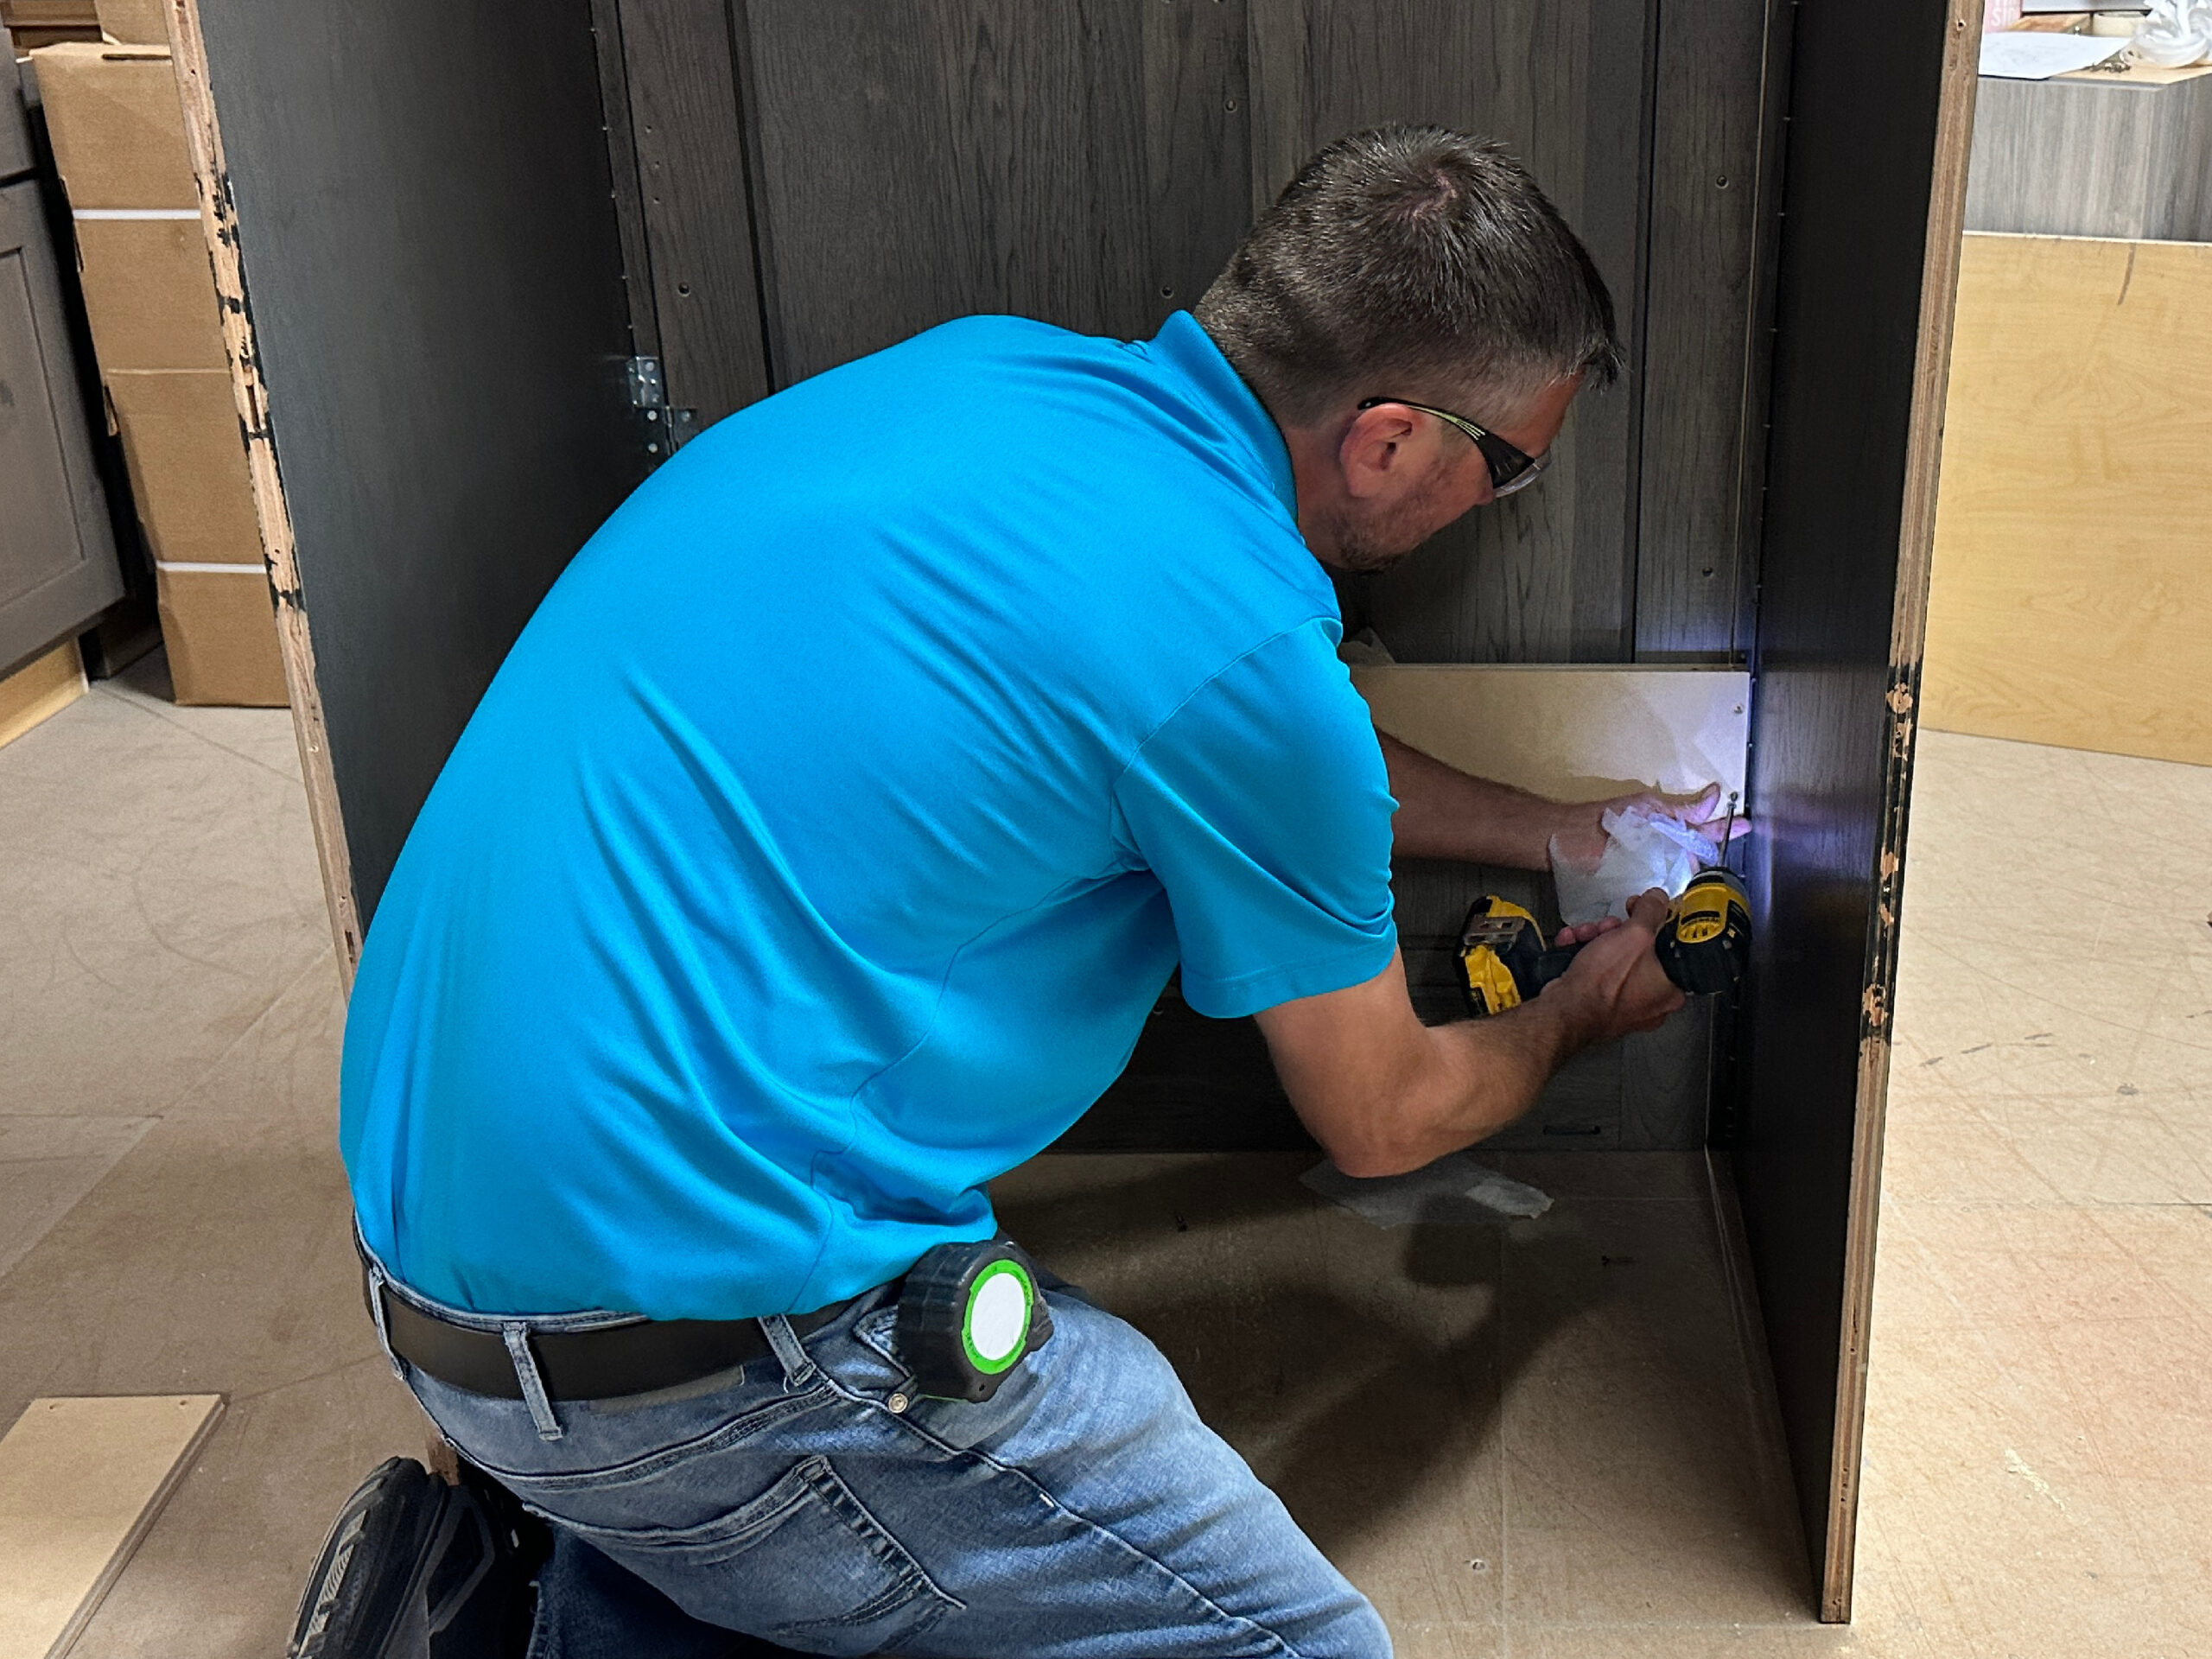
Remove Inside Bracing
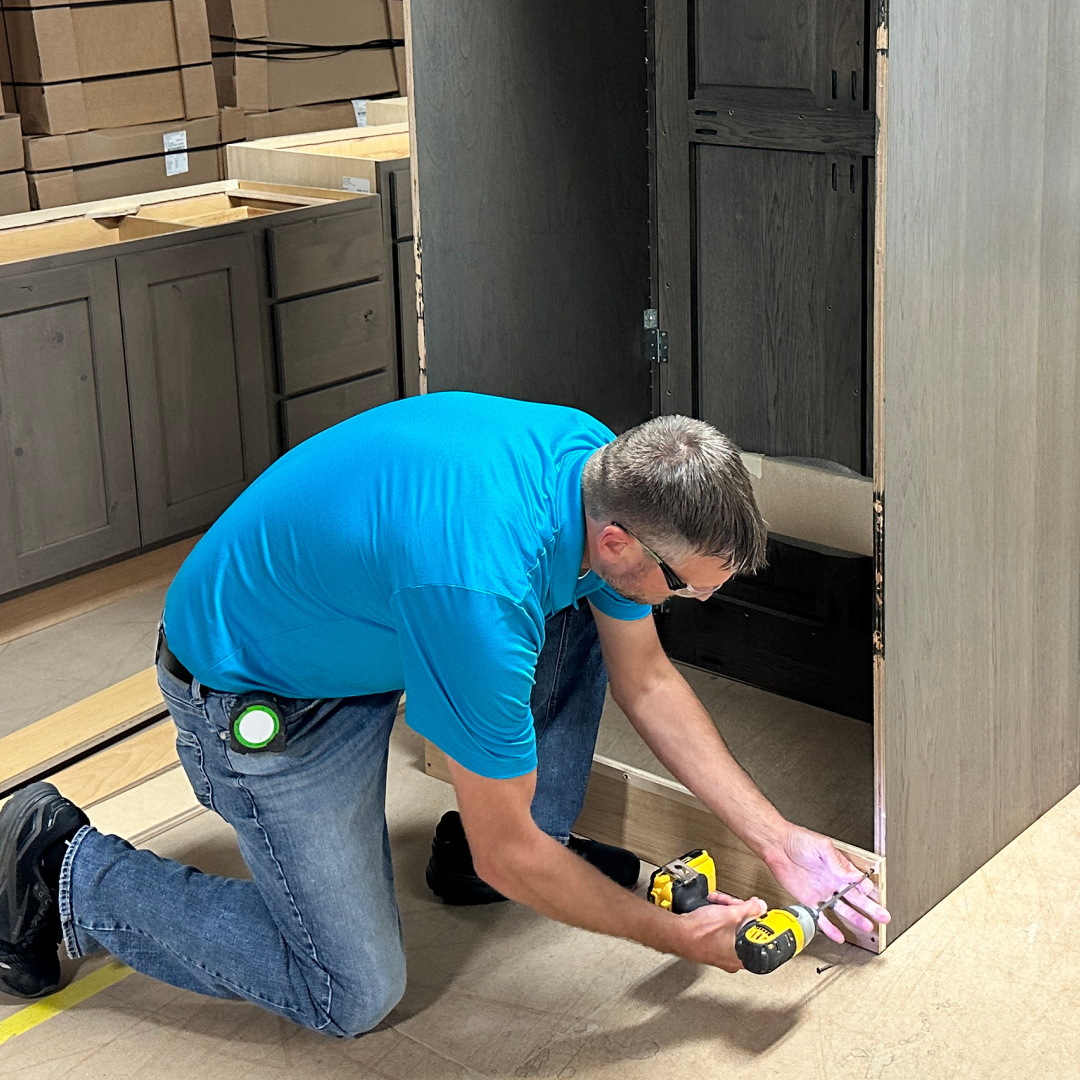
6. Remove foam and bracing from back of face frame, in panty opening – starting with top brace.
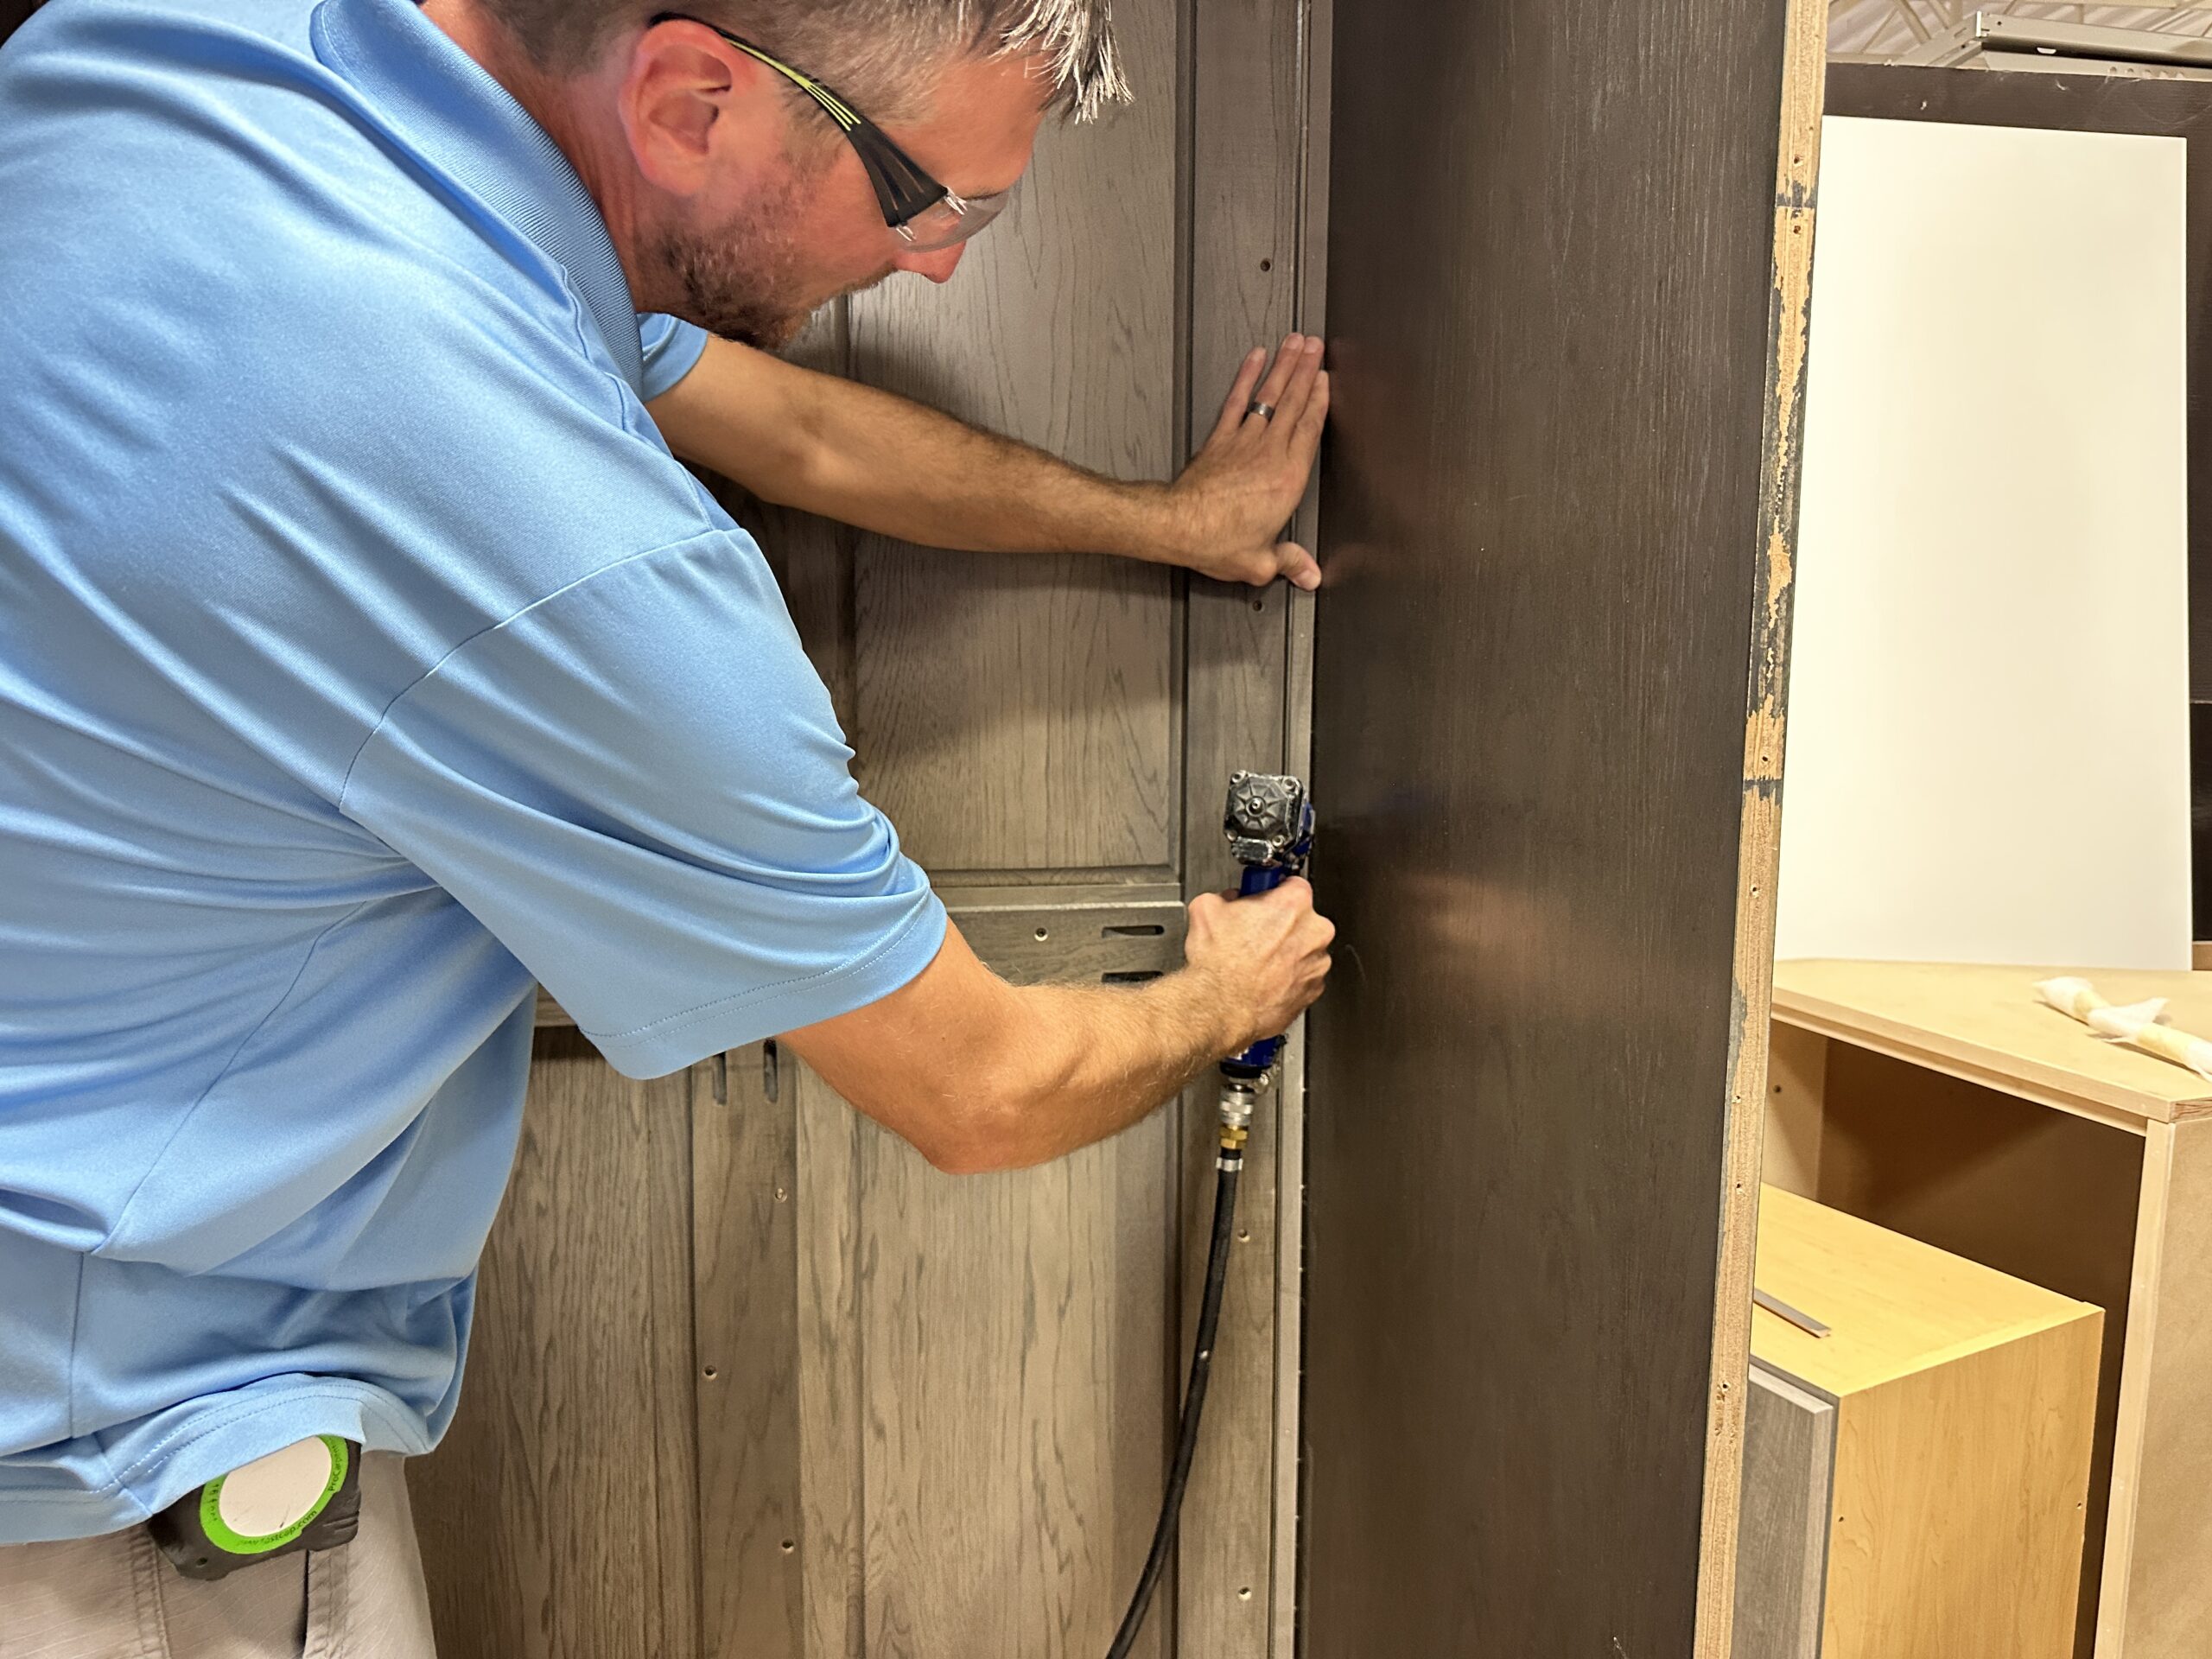
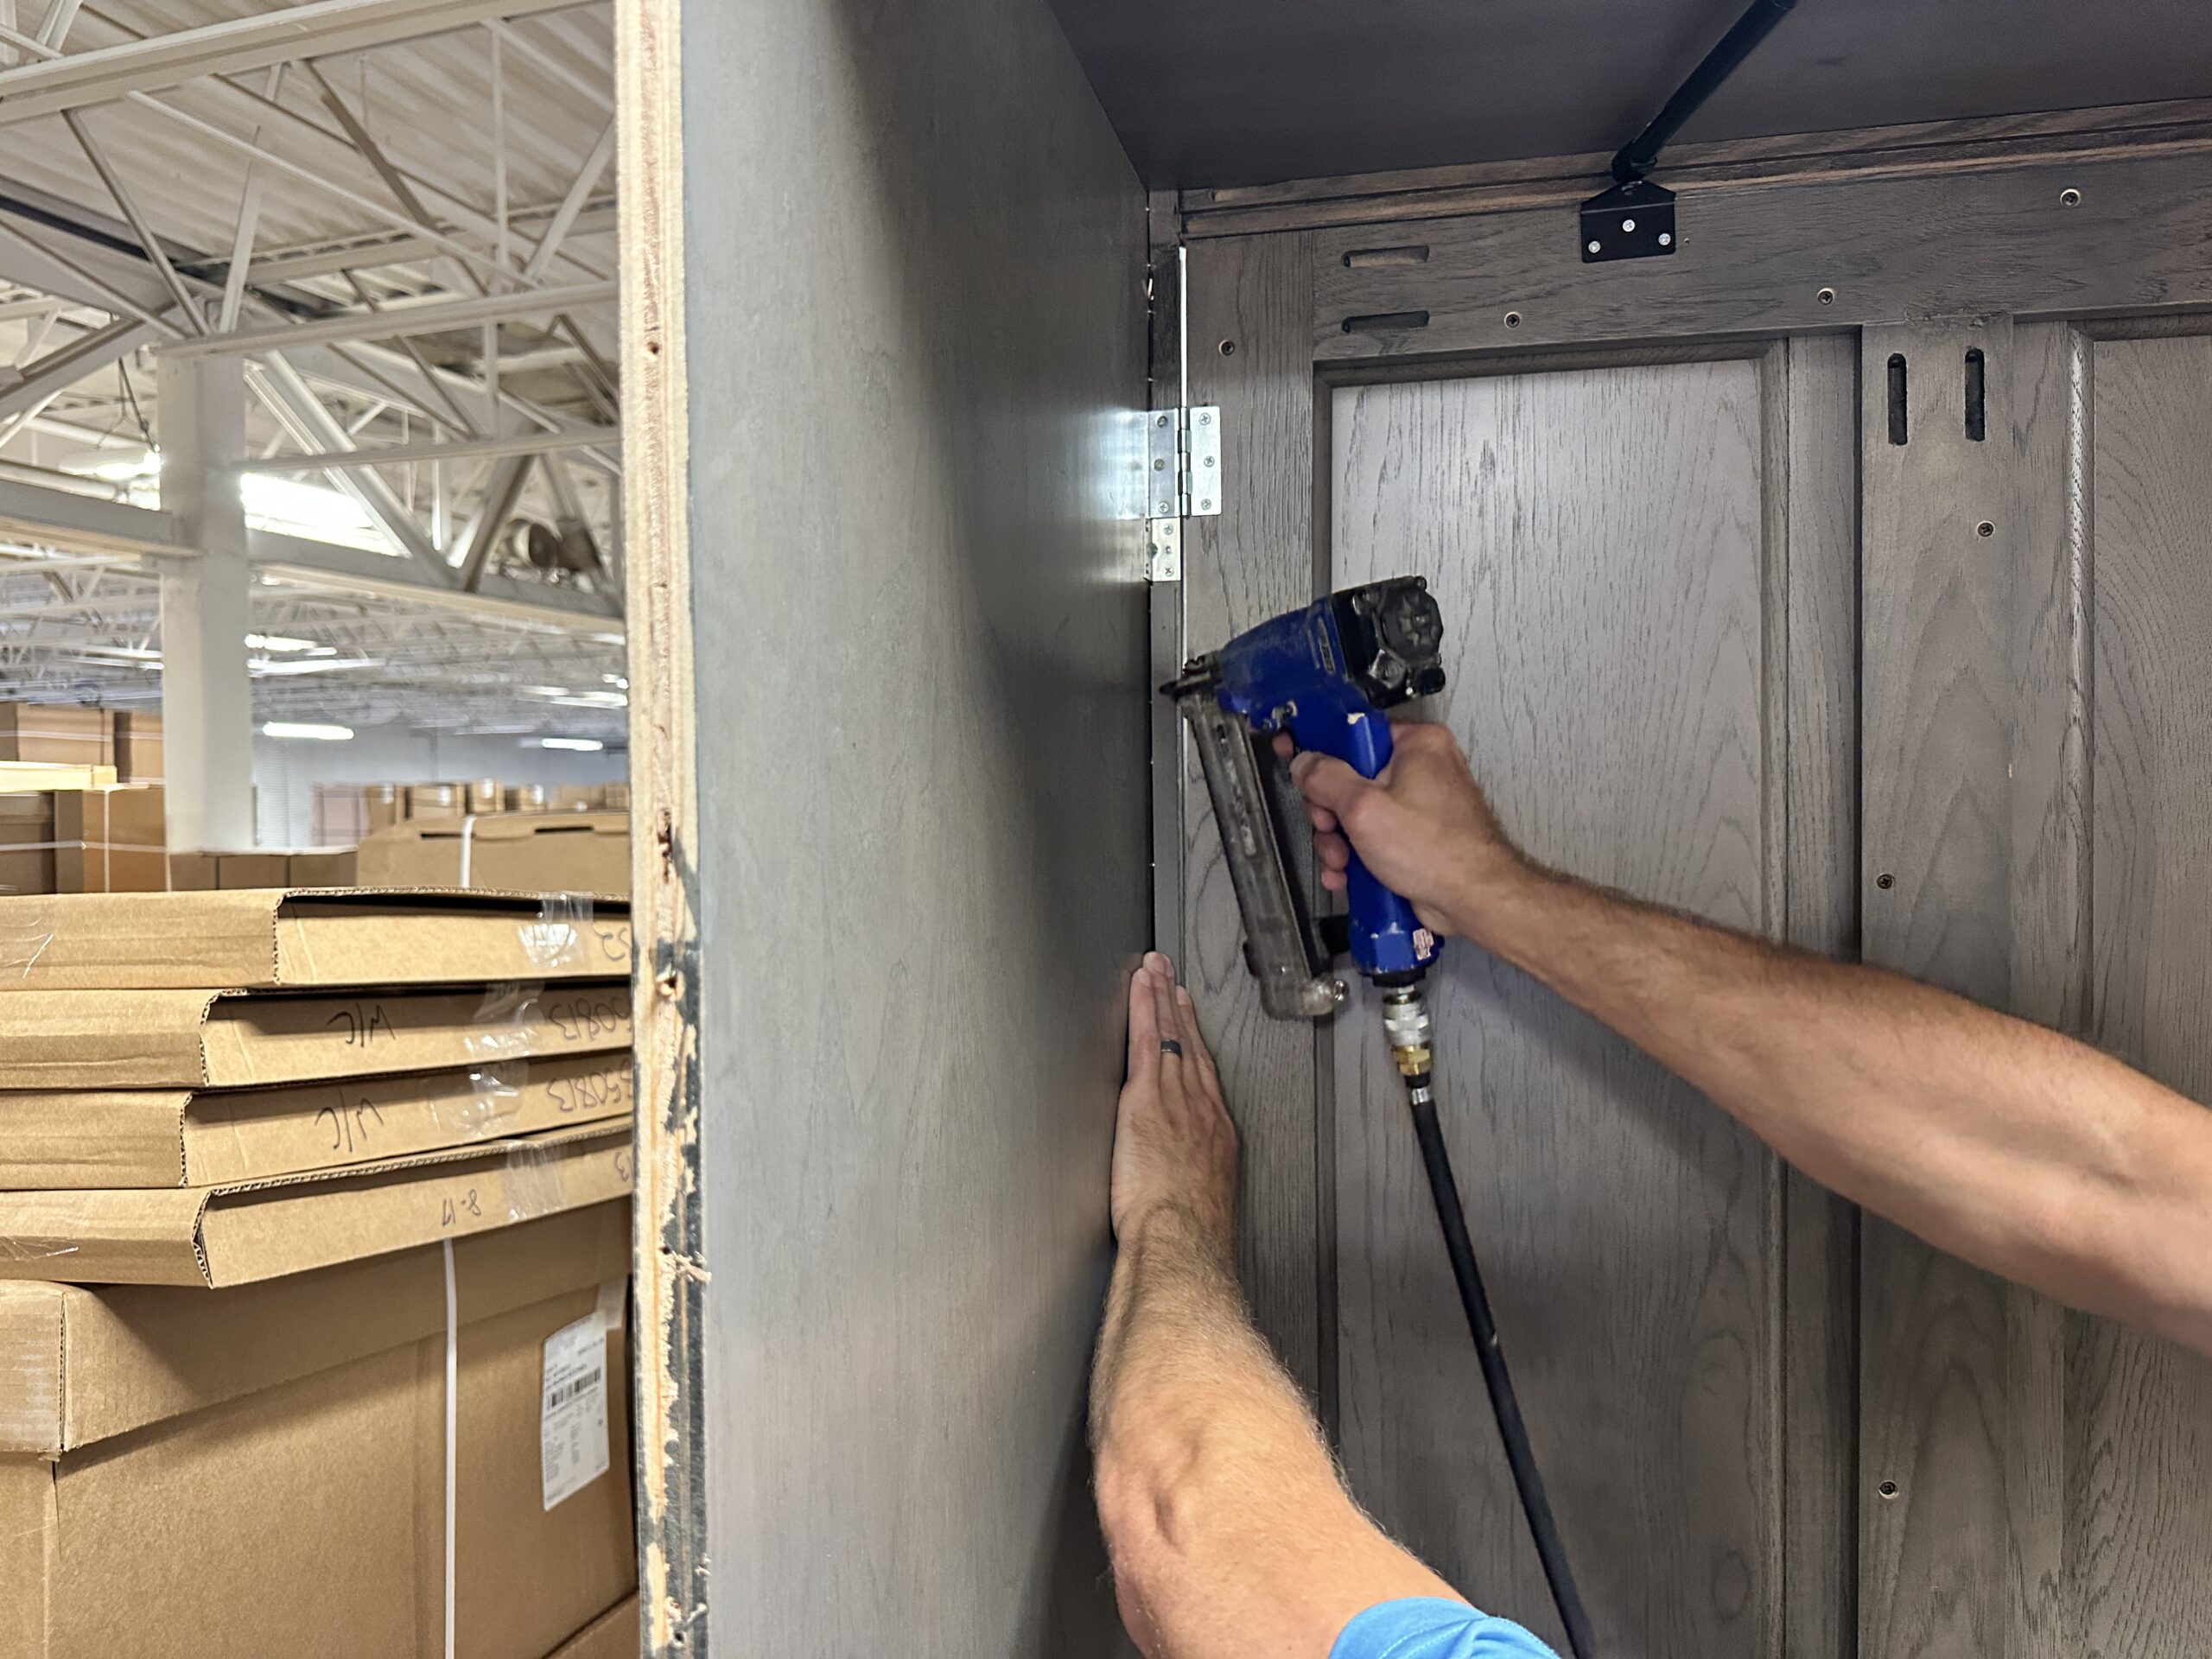
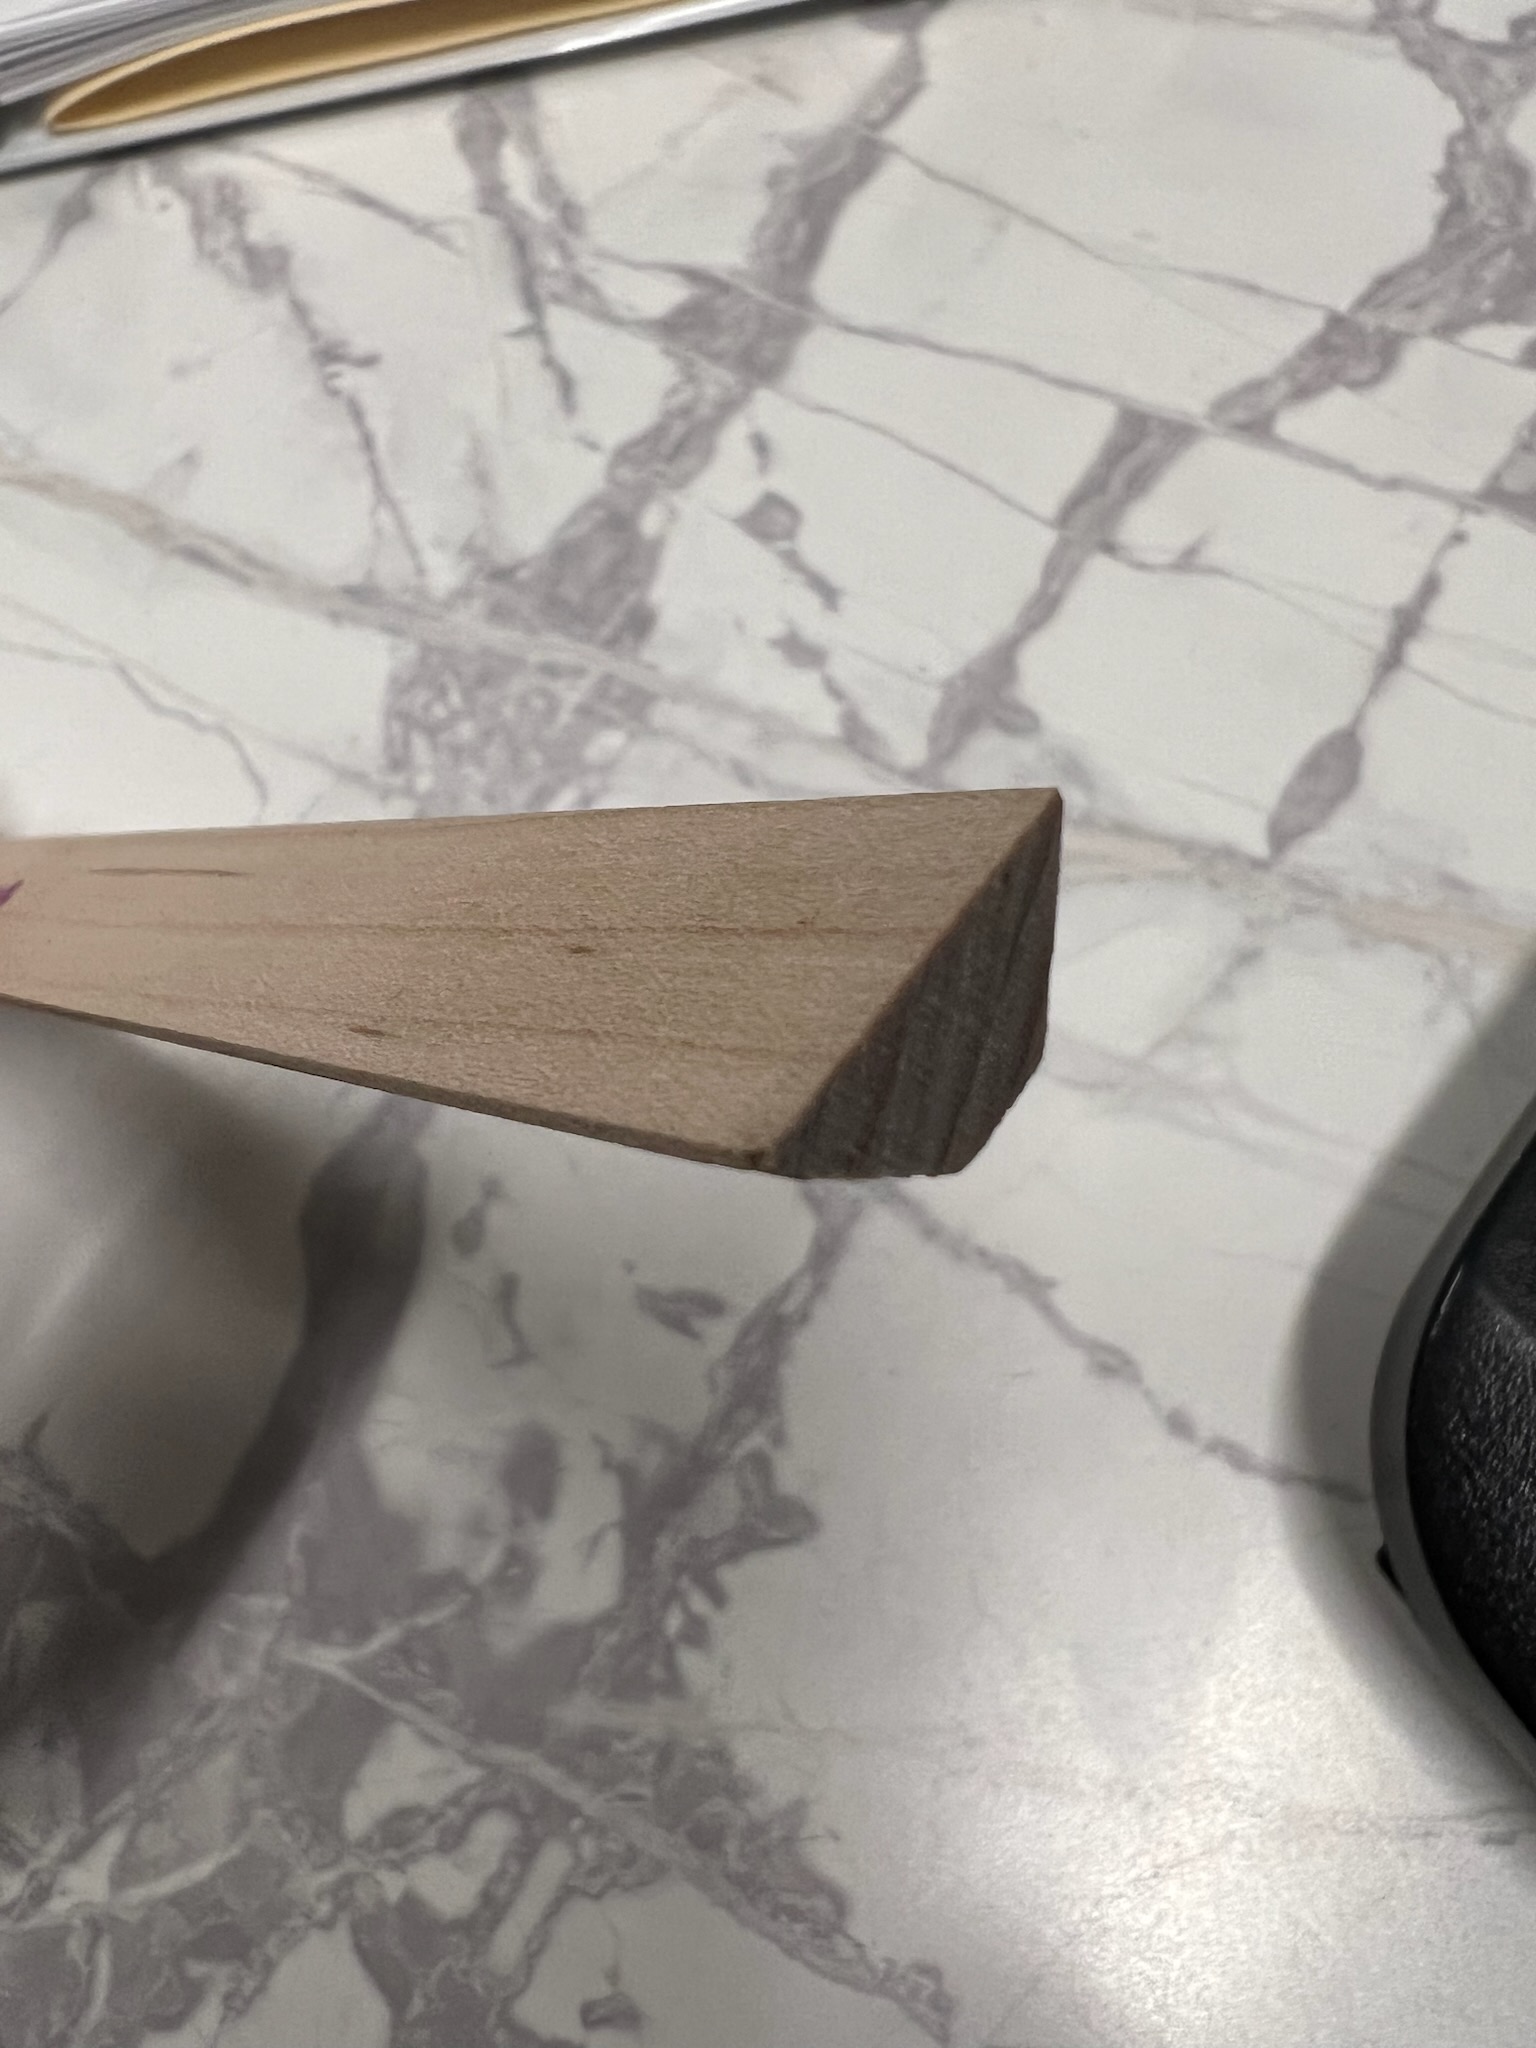
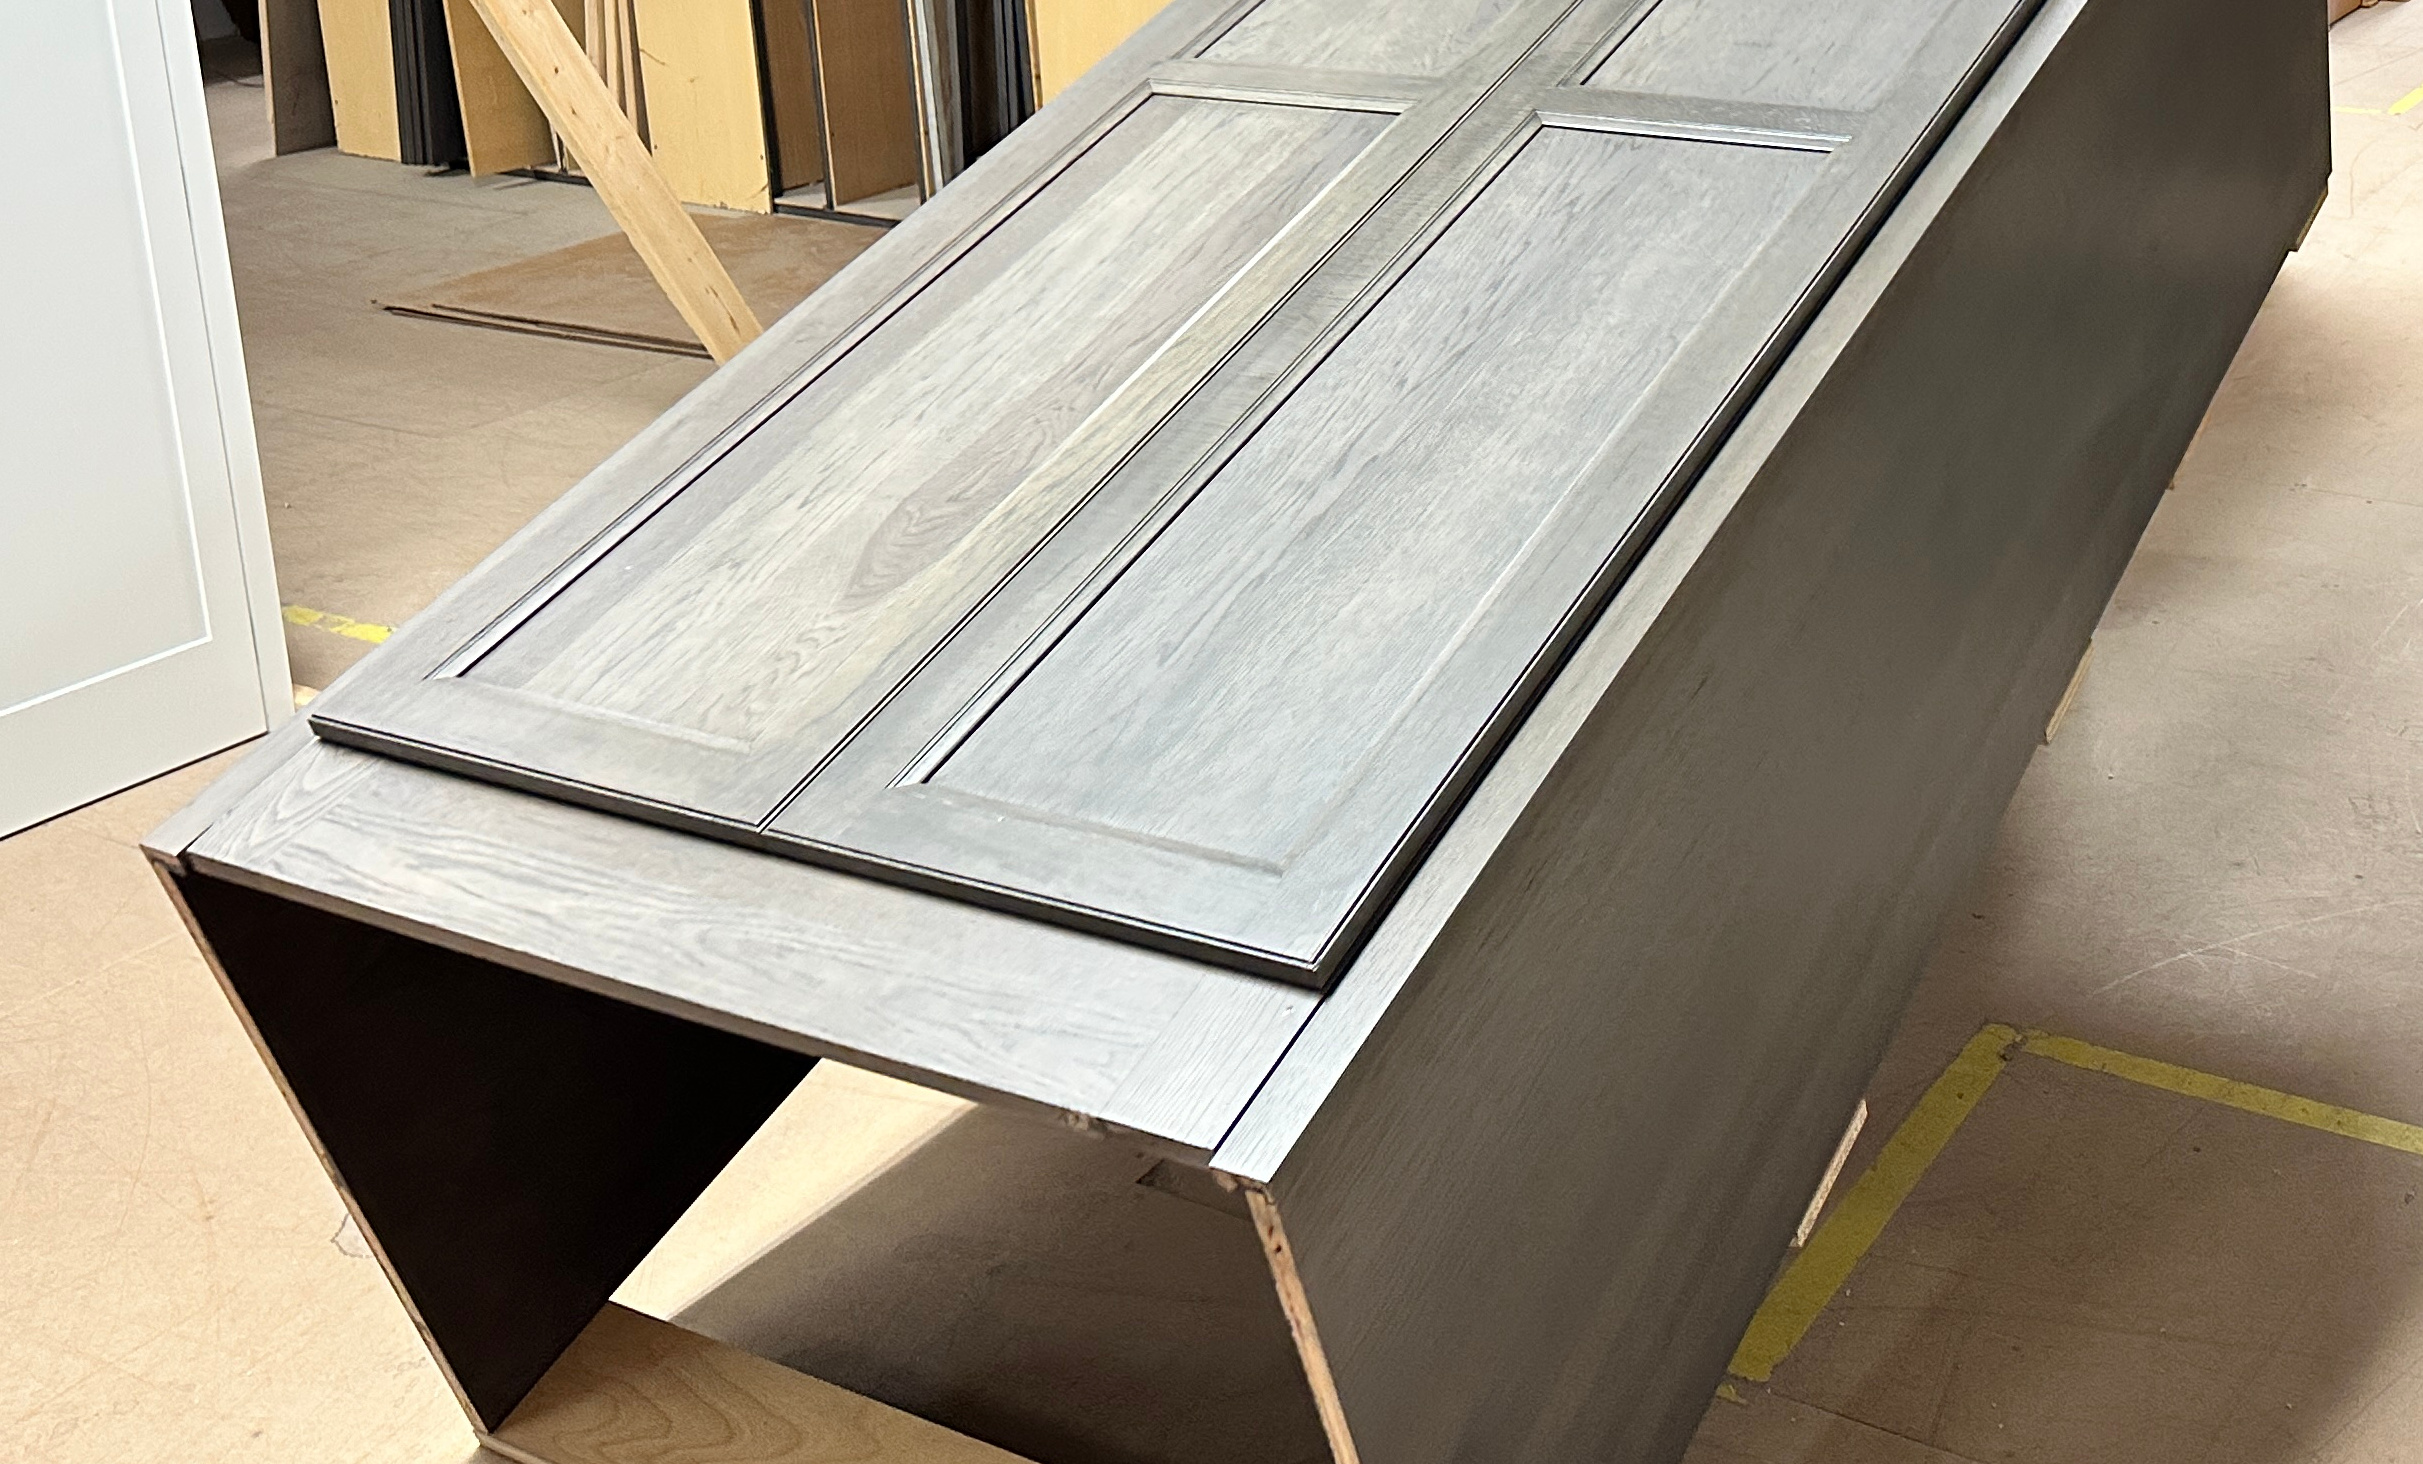
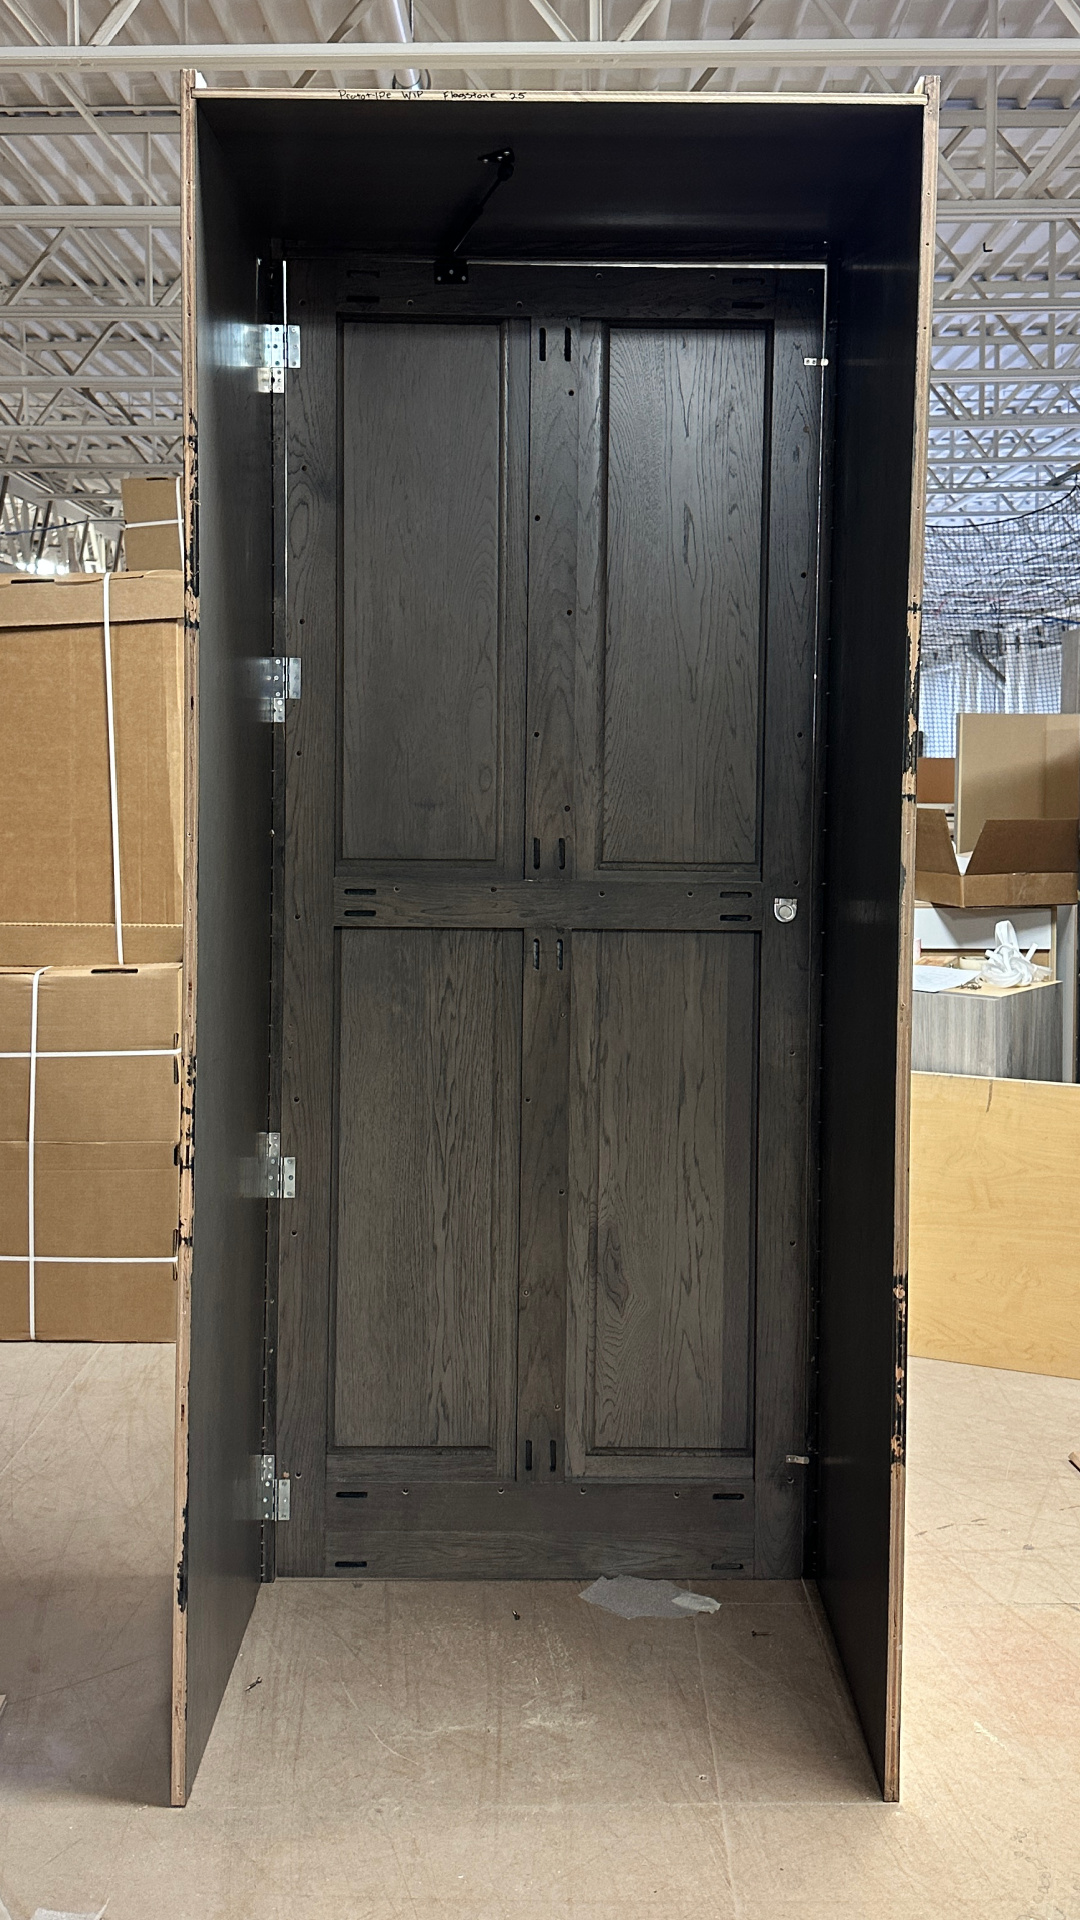
Install Corner Molding
7. Cabinet will come with 2 sticks of an angled corner molding.
8. Cut and pin (5/8”) molding where back of stile and end panel meet, to cover staples and holes from bracing.
9. Cut and install molding between brackets/hinges.
- Cabinet must be installed level and plumb to maintain reveals and for pantry door to operate properly.
Specifications & Product Information Notice:
The specification, materials, and care information provided on this website are intended as a general reference only. Because Showplace cabinetry is custom-manufactured, final product characteristics will reflect the specific selections, modifications, accessories, and enhancements chosen by the homeowner in collaboration with their designer. As a result, the website content should not be interpreted as comprehensive or absolute for all projects.
Some Showplace-purchased products, including doors purchased from other manufacturers, vent hoods and blowers, internal hardware kits, etc., are manufactured by third-party suppliers. These components are subject to the supplier’s own specifications, limitations, and warranty terms. Care information can be requested through a Showplace dealer or cited on the original manufacturer’s website.
Showplace reserves the right to change or discontinue products, materials, or design specifications at any time without prior notice and without obligation to update or modify cabinetry produced previously.
Homeowners should not rely solely on website information when making purchase decisions. For precise, project-specific details including materials, construction methods, limitations, and care requirements, consult your authorized Showplace designer or dealer.
Other Resources
Showplace Announces Winners of the 2025 National Design Contest
Showplace Cabinetry Announces Winners in 2022 National Design Contest

Showplace Cabinetry Announces Multiple Executive and Leadership Promotions
Showplace Cabinetry is excited to introduce Wren, a fresh take on transitional design with clean lines and versatile appeal.
The Hottest Trends in Kitchen Cabinet Colors for 2026
After years of bright white kitchens and cool gray tones, 2026 is taking a softer, warmer turn with hints of fresh colors. Designers and...
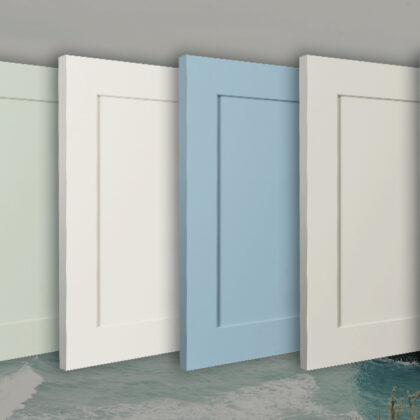
Showplace Cabinetry Introduces Nine New Coastal-Inspired Colors Crafted for the Home
Showplace Cabinetry is excited to introduce Wren, a fresh take on transitional design with clean lines and versatile appeal.
Satin vs. Matte: Choosing the Right Sheen for Your Cabinet Finish
Every home is unique and meant to be lived in, and various factors will influence how wood cabinetry acclimates and responds over time.